
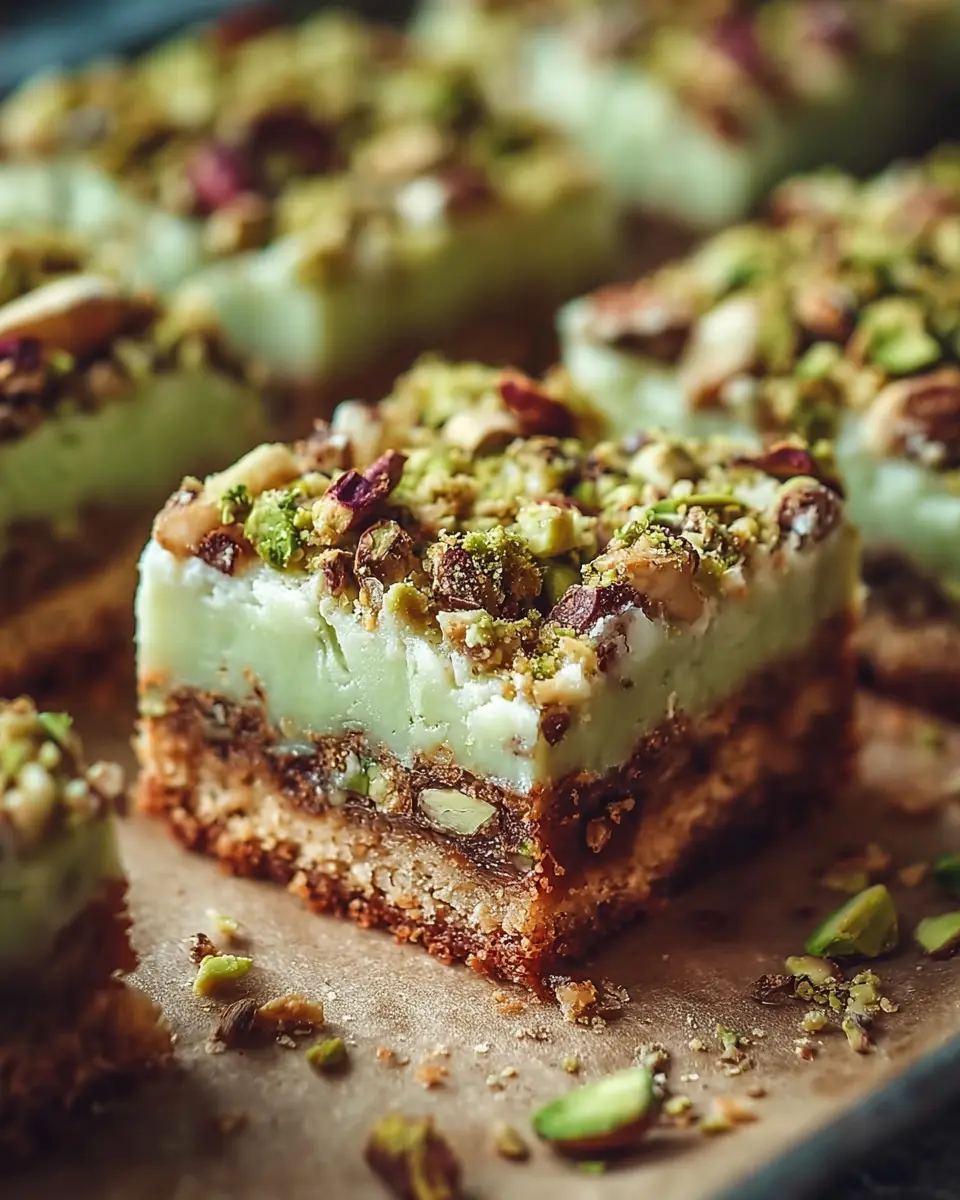
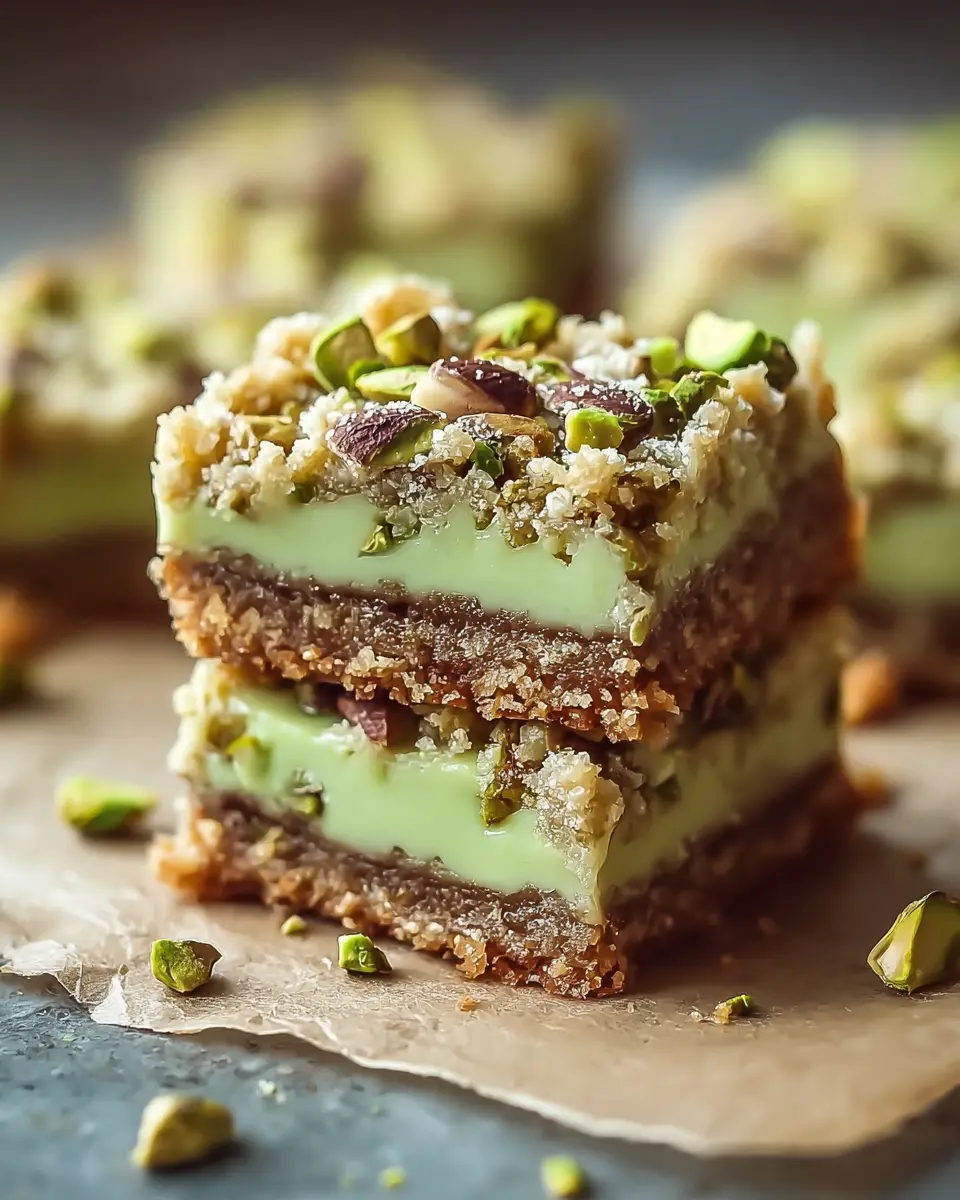
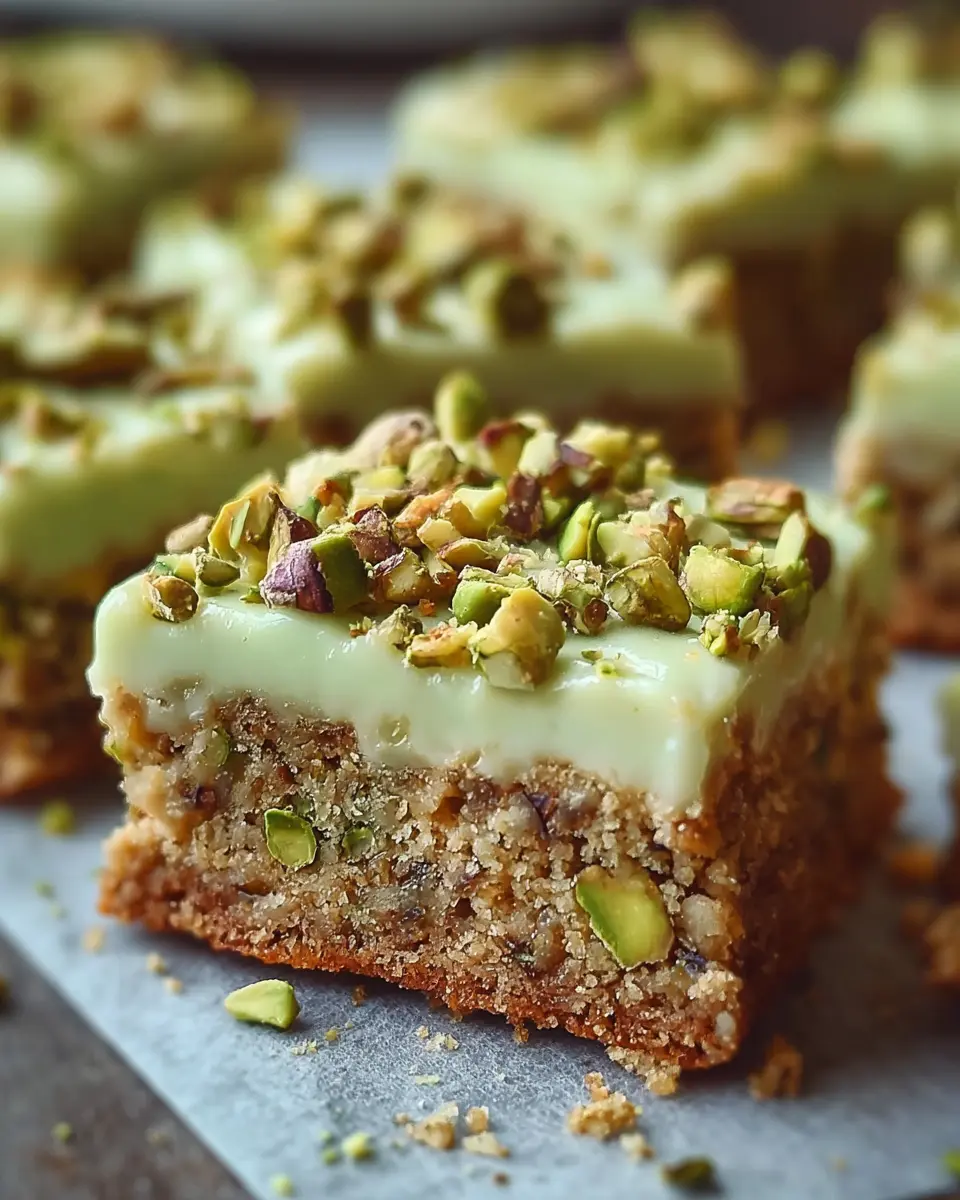
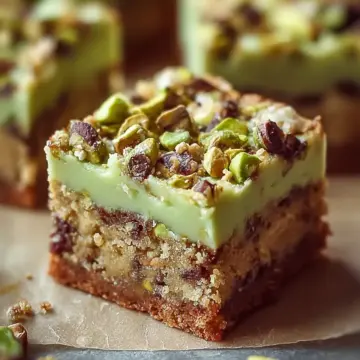
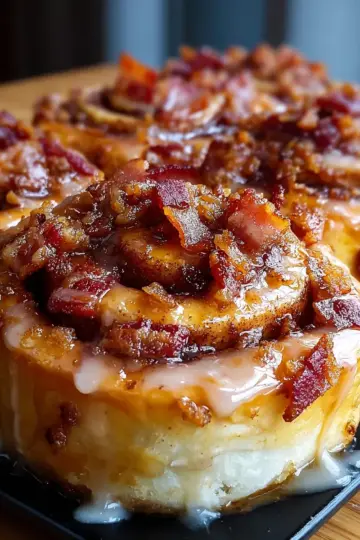
Introduction to Pistachio Dream Cookie Bars
If you're on the hunt for a sweet treat that tantalizes the taste buds and is a breeze to make, Pistachio Dream Cookie Bars are your answer! These delightful bars combine the nutty flavor of pistachios with the comforting sweetness of cookie dough, creating a chewy dessert experience that’s hard to resist.
What makes Pistachio Dream Cookie Bars so irresistible?
The secret behind these irresistible bars lies in their unique combination of ingredients. The pistachio instant pudding mix not only adds a vibrant green hue but also contributes to the bars' deliciously soft texture. Using a sugar cookie mix simplifies the process, allowing even novice bakers to whip up something that looks and tastes gourmet. And let’s not forget how the buttery goodness brings it all together—every bite melts in your mouth, making them perfect for any occasion.
Imagine serving these at a cozy get-together or savoring them with your favorite coffee on a lazy Sunday. The versatility is endless! Want to learn more about the wonders of baking with pistachios? Check out this article on health benefits of nuts and experiment with other recipes that incorporate this delightful ingredient. So, are you ready to dive into this chewy bliss? Let's get started!
Ingredients for Pistachio Dream Cookie Bars
Essential Ingredients Needed
To whip up these delightful Pistachio Dream Cookie Bars, you'll need a handful of essential ingredients that come together to create a chewy and satisfying dessert:
- Unsalted Butter (0.5 cup): This adds richness to your bars; you can use dairy-free butter for a vegan option.
- Large Eggs (2): They provide moisture and help bind all the ingredients together.
- Pistachio Instant Pudding Mix (3.4 oz): This is the star ingredient! Check the expiration date to ensure freshness for the best flavor.
- Sugar Cookie Mix (1 package): This simplifies your baking process, allowing you to focus on the flavors.
- Cooking Spray or Butter (1 tablespoon): Use this to grease your baking sheet, ensuring easy removal after baking.
Optional Ingredients for Customization
Want to put a personal twist on your Pistachio Dream Cookie Bars? Consider these optional ingredients:
- Chopped Nuts: Add crushed walnuts or almonds for an extra crunch and flavor boost.
- Chocolate Chips: For a sweet contrast, sprinkle in some white or dark chocolate chips.
- Drizzle of Chocolate: A decadent touch—melt some chocolate and drizzle it over the finished bars for that extra “wow” factor.
By mixing and matching these ingredients, you can easily make this recipe your own! For more baking tips, explore sources like King Arthur Baking for expert advice.
Preparing Pistachio Dream Cookie Bars
Making Pistachio Dream Cookie Bars is not just about baking; it's about creating a delightful treat that speaks to your sweet tooth while bringing a vibrant splash of color and flavor into your kitchen! Let’s dive into the step-by-step process to whip up these chewy bars that friends and family will love.
Step 1: Gather Your Ingredients
Before starting, ensure you have all your ingredients ready to go. You'll need:
- 0.5 cup Unsalted Butter (softened) – a key player in giving that luscious texture.
- 2 large Eggs – for moisture and binding.
- 3.4 oz Pistachio Instant Pudding Mix – the star of our show!
- 1 package Sugar Cookie Mix – to make this recipe super simple.
- 1 tablespoon Cooking Spray or Butter – to grease your baking sheet.
Don’t forget to check the expiration date on your pudding mix! Fresh ingredients can make all the difference.
Step 2: Mix the Base Components
Pick up a large mixing bowl and combine the softened butter, eggs, and pistachio pudding mix. As you mix, aim for a smooth, fluffy texture. This step is crucial because it sets the foundation for your Pistachio Dream Cookie Bars. You’ll want to blend these ingredients well, so your cookie bars have that delightful pistachio flavor throughout.
Step 3: Combine with Cookie Mix
Now, it’s time to gradually add the sugar cookie mix to your fluffy mixture. Use a spatula to fold it in gently. As you stir, you'll notice a sticky dough forming—this is just what you want! If you’re in the mood for a twist, consider adding some chopped nuts or mini chocolate chips at this stage for extra flavor and texture.
Step 4: Prepare the Baking Sheet
Preheat your oven to 375°F (190°C). While the oven heats, take a 10 x 15-inch baking sheet and grease it with cooking spray or butter. This simple step ensures your bars won't stick, making for easy slicing later.
Step 5: Bake to Perfection
Once your dough is ready, press it evenly into the prepared pan. Bake for 18-22 minutes. Keep an eye on them, as you want the edges to be lightly golden. This baking time is just right to achieve that perfect chewy texture. When you pull them out, let the delicious aroma fill your kitchen!
Step 6: Cool and Cut into Bars
Allow your Pistachio Dream Cookie Bars to cool in the pan on a wire rack. Once they are completely cool (about 30 minutes), it's time to slice them into squares. You can leave them as they are, or for an added touch, drizzle melted chocolate on top for an indulgent finish.
Now that you’ve mastered this simple yet delicious recipe, get ready to impress everyone with your baking skills! Enjoy your tasty creation, and don’t forget to share your experience. Happy baking!
Variations on Pistachio Dream Cookie Bars
Adding Chocolate Drizzle
Elevate your Pistachio Dream Cookie Bars by adding a rich chocolate drizzle. Simply melt dark or white chocolate in the microwave or on a stovetop using a double boiler. Use a fork or piping bag to drizzle melted chocolate over the cooled bars for a beautiful and delicious finish. This sweet addition enhances the flavor while making your bars visually stunning—perfect for impressing family and friends at your next gathering.
Incorporating Nuts or Dried Fruit
For those who love a little texture, consider incorporating chopped nuts like walnuts or almonds directly into your Pistachio Dream Cookie Bars mix. You can also add dried fruits such as cranberries or apricots for extra chewiness and a pop of flavor. Not only does this make the bars more interesting, but it also provides a boost of nutrients. Remember, combining flavors is key, so feel free to experiment until you find your perfect mix!
Cooking Tips and Notes for Pistachio Dream Cookie Bars
Importance of Room Temperature Ingredients
Using room temperature ingredients is crucial when making Pistachio Dream Cookie Bars. Eggs and butter blend more smoothly, creating a lighter, fluffier texture in your bars. For best results, take your eggs and butter out of the fridge about 30 minutes before you start baking. This small step enhances the overall flavor and consistency of your treats.
Best Practices for Storage
To keep your Pistachio Dream Cookie Bars fresh, store them in an airtight container at room temperature for up to five days. For longer storage, consider freezing them. Simply wrap individual bars in plastic wrap and place them in a freezer-safe bag. When you’re ready to enjoy, just thaw at room temperature, and they’ll taste as good as new! For more storage tips, you can refer to resources like Food Network.
Serving Suggestions for Pistachio Dream Cookie Bars
Pairing with Coffee or Tea
The delightful Pistachio Dream Cookie Bars complement various beverages perfectly. Consider serving them with a rich cup of coffee or a delicate herbal tea. The nutty flavors harmonize beautifully with a bold espresso, while a calming chamomile tea offers a lovely contrast. If you're feeling adventurous, try pairing with a matcha latte for a unique twist that enhances the green hues of the cookie bars.
Ideas for Garnishing
Elevate your Pistachio Dream Cookie Bars with simple garnishes to impress your guests. A light drizzle of melted chocolate creates an elegant touch, while a sprinkle of crushed pistachios adds both crunch and visual appeal. For a refreshing pop, consider topping with a dollop of whipped cream or a scoop of vanilla ice cream. These additions not only enhance presentation but also make each bite a little more indulgent.
Feel free to explore these ideas when serving these delectable treats at your next gathering!
Time Breakdown for Pistachio Dream Cookie Bars
Planning to whip up these Pistachio Dream Cookie Bars? Here’s how to efficiently break down your time for this delectable treat:
Preparation Time
Spend about 10 minutes gathering ingredients and mixing your batter. It's the first step in creating these scrumptious bars, and the process is quick and straightforward!
Baking Time
Next, pop your baking sheet into the oven for around 20 minutes. Keep an eye on them; they’re ready when the edges turn lightly golden.
Cooling Time
Allow the cookie bars to cool for 30 minutes. This patience pays off, as they’ll firm up nicely and be easier to slice!
Total Time
In just 1 hour, you’ll have a batch of delightful Pistachio Dream Cookie Bars ready to satisfy your sweet cravings.
These bars are not just simple to make but also perfect for after-work snacks or gatherings. Check out this article for more ideas on fun dessert variations!
Nutritional Facts for Pistachio Dream Cookie Bars
Calories per bar
Each Pistachio Dream Cookie Bar contains approximately 210 calories, making it a sweet treat that can satisfy your cravings without derailing your day. Perfect for sharing—or not!
Key nutritional components
These delightful bars are not just about indulgence; they also offer a nice balance of nutrients:
- Carbohydrates: 30g, providing energy for your busy day.
- Protein: 3g, helping to keep you feeling full.
- Fat: 10g, with a mix of healthy fats.
- Fiber: 1g, supporting digestive health.
For more info about the importance of fiber and balanced nutrition, consider reading articles on Healthline or WebMD. Stay informed and enhance your culinary adventures!
FAQs about Pistachio Dream Cookie Bars
Can I make these bars vegan?
Absolutely! To create vegan Pistachio Dream Cookie Bars, simply substitute the unsalted butter with a dairy-free butter alternative and replace the eggs with flaxseed meal or applesauce. For each egg, mix 1 tablespoon of flaxseed meal with 2.5 tablespoons of water and let it sit until it gels, or use ¼ cup of applesauce per egg. Happy baking!
How do I store leftover cookie bars?
To keep your Pistachio Dream Cookie Bars fresh, store them in an airtight container at room temperature for up to 3 days. If you want them to last longer, you can refrigerate them for about a week or freeze them for up to 3 months. Just ensure they are wrapped securely to prevent freezer burn.
What can I use instead of pistachio pudding mix?
If you can't find pistachio pudding mix, don't worry! You can use vanilla pudding mix for a different flavor profile. Alternatively, try using a homemade mix of ground pistachios combined with some sugar and cornstarch for a more natural approach. Remember, the key is to maintain that delightful creaminess!
Conclusion on Pistachio Dream Cookie Bars
In summary, Pistachio Dream Cookie Bars offer a delightful blend of chewiness and flavor that's hard to resist. Perfect for any occasion, they are easy to make and sure to impress sweet tooth friends. Don’t forget to personalize them with your favorite toppings! Enjoy every bite!
For more delicious recipes, check out Savory Bites and elevate your dessert game!
Pistachio Dream Cookie Bars: Chewy Bliss for Every Sweet Tooth
Equipment
- mixing bowl
- baking sheet
- spatula
- Oven
Ingredients
For the Cookie Bars
- 0.5 cup Unsalted Butter Softened; use dairy-free butter for a vegan alternative.
- 2 large Eggs Provides moisture and binding.
- 3.4 oz Pistachio Instant Pudding Mix Check expiration for freshness.
- 1 package Sugar Cookie Mix Simplifies the process.
- 1 tablespoon Cooking Spray or Butter Grease the baking sheet.
Instructions
How to Make Pistachio Dream Cookie Bars
- Preheat your oven to 375°F (190°C).
- Cream together butter, eggs, and pistachio pudding mix in a large mixing bowl until smooth and fluffy.
- Gradually add the sugar cookie mix, stirring gently until a sticky dough forms.
- Grease a 10 x 15-inch baking sheet with cooking spray or butter.
- Press the dough evenly into the prepared pan.
- Bake for 18-22 minutes, until the edges are lightly golden.
- Cool the baking pan on a wire rack completely before slicing into squares.
- Serve as is, or optionally drizzle with melted chocolate.


Leave a Reply