
Introduction to Grilled Cheese Roll-Ups
Why Grilled Cheese Roll-Ups are Your Next Go-To Snack
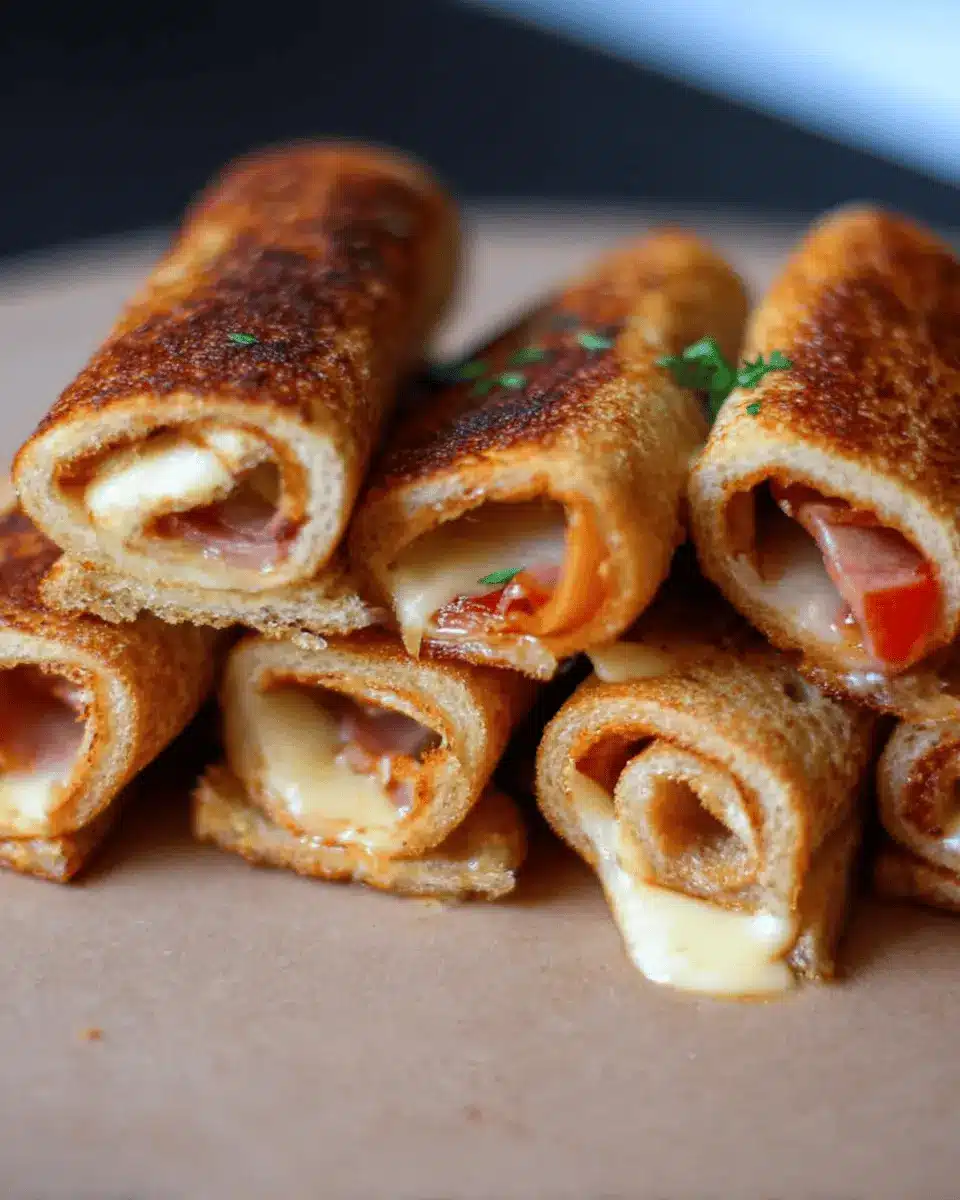
If you're in the mood for a quick, delicious snack that’s sure to please everyone, look no further than grilled cheese roll-ups. Imagine the classic comfort of a warm, gooey grilled cheese sandwich, but with a fun twist that makes it even more enjoyable to eat. These roll-ups are not only easy to prepare but also perfect for sharing at casual gatherings or for a cozy night in.
One of the best parts of grilled cheese roll-ups is their versatility. Whether you stick with classic sharp cheddar or explore other options like Monterey Jack, the cheese-centric magic is hard to resist. They can also serve as the perfect vehicle for all your creative toppings, from crispy turkey bacon to fresh vegetables. Plus, they’re a fantastic way to use up leftover bread!
For more inspiration, check out this article on the benefits of using whole grains in your meal prep. Making these roll-ups only takes about 10 minutes from start to finish, making them an ideal choice for busy young professionals and families alike looking for a satisfying snack. So grab your toothpicks and let’s get cooking!
Ingredients for Grilled Cheese Roll-Ups
Creating delightful grilled cheese roll-ups is all about the right combination of ingredients. Let’s explore what you’ll need to whip up these tasty treats!
Essential ingredients you'll need
To get started, you will need:
- 8 slices of white bread, crusts removed for a smooth, easy roll-up.
- 8 slices of sharp cheddar cheese (or any cheese you prefer, like Monterey Jack, Colby, or Swiss) to ensure melty goodness.
- Melted butter, which adds delicious flavor and helps create that golden, crispy exterior.
These staples serve as the foundation of your roll-ups, bringing comfort food vibes right into your kitchen.
Optional ingredients for extra flavor
Want to elevate your grilled cheese roll-ups? Consider adding some of these optional ingredients:
- Turkey bacon or chicken ham for a savory twist.
- Fresh herbs, like basil or chives, added before rolling for a pop of freshness.
- Spices, such as garlic powder or smoked paprika, for a unique kick.
Feel free to mix and match to cater to your palate! The beauty of these roll-ups is how customizable they can be. Ready to get cooking?
Preparing Grilled Cheese Roll-Ups
Making grilled cheese roll-ups is a delightful process that not only results in a cheesy, crispy snack but also brings a touch of fun to the kitchen. Let’s dive into the step-by-step process that will make these roll-ups a hit at any gathering or on a relaxing night in!
Flatten the bread
The first step is critical for achieving that perfect roll-up texture. Using a rolling pin, gently flatten each slice of bread until it’s about ¼ inch thick. This not only makes it easier to roll but also helps prevent the bread from cracking. If you're wondering about the best type of bread for this, a fresh white bread works wonderfully, as it’s pliable and has a mild flavor that complements the cheese beautifully. For tips on different bread options, check out this article.
Add cheese
Next up, it's time for the star of the show: the cheese! Place one slice of cheese, or some shredded cheese, on the flattened bread. Opt for sharp cheddar or Monterey Jack for that gooey, melty goodness. If you’re feeling adventurous, mix in some additional ingredients like turkey bacon or sautéed spinach for an extra flavor boost. The beauty of these roll-ups is that you can customize them to suit your taste preferences.
Roll and secure
Begin rolling the bread with the cheese tightly, making sure it holds together. Once it’s fully rolled, use a toothpick to secure it. If you prefer not to use toothpicks, you can seal the ends by pressing them gently. This not only keeps the cheese from spilling out while cooking but also ensures that the roll-up stays intact when you’re ready to dig in. Looking for great toothpicks? Check out some options here.
Brush with butter
With your roll-ups secured, it’s time to brush the outsides with melted butter. This step adds a delicious golden-brown crust when cooked and enhances the flavor remarkably. You can either use a pastry brush or simply roll the pieces in a shallow dish filled with butter for convenience. Feel free to use a generous amount; it’s part of what makes these roll-ups irresistible!
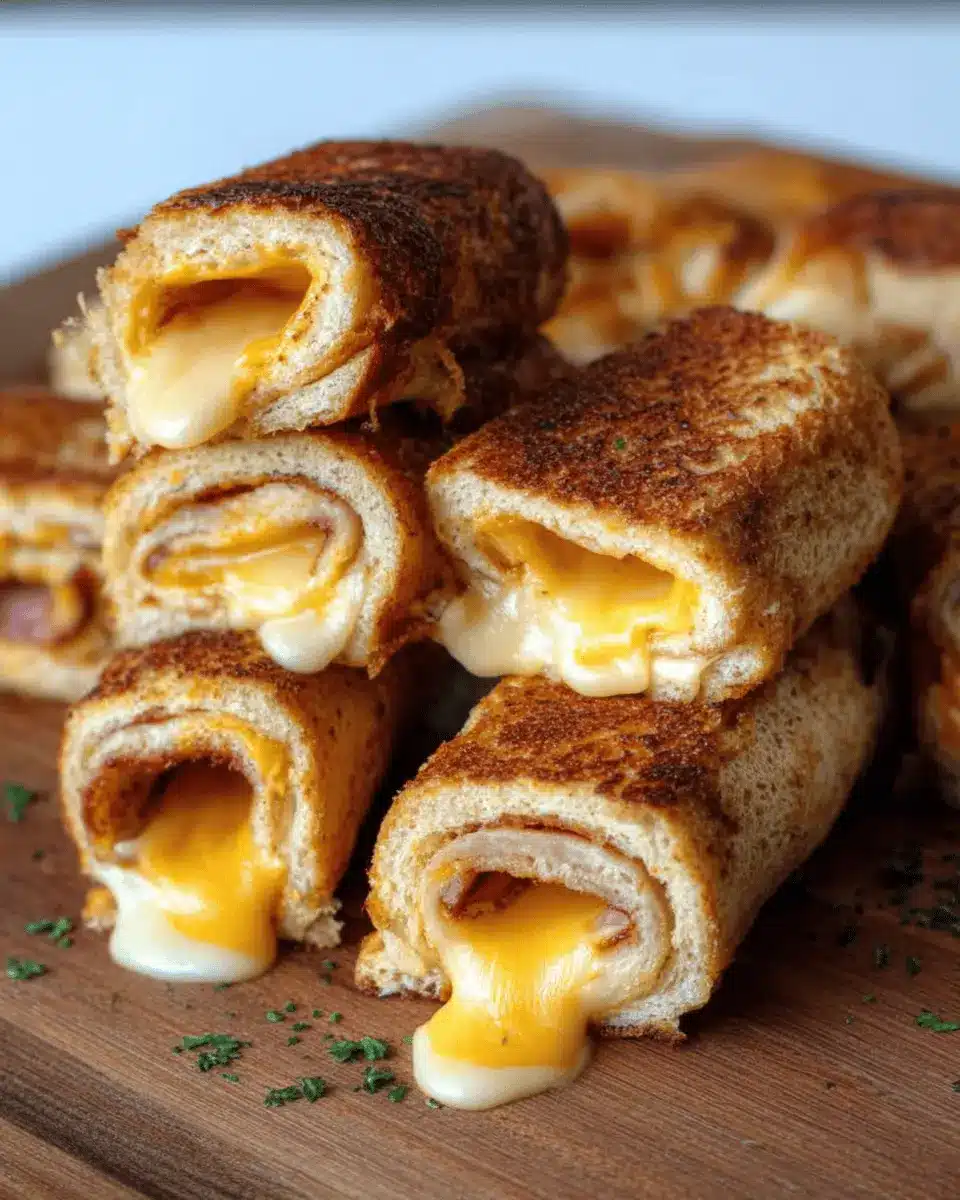
Cook to perfection
Heat a skillet over medium heat and carefully place the roll-ups seam side down. Cook until they’re golden brown on all sides and the cheese is perfectly melted inside. You might need to adjust the heat as you cook, so they don’t burn. Use tongs to flip them and ensure even cooking. The end result? A crispy exterior and a warm, cheesy interior that will have you coming back for seconds.
Now that you know how to prepare grilled cheese roll-ups, get creative and make them your own—whether it’s for a snack, a party appetizer, or a cozy night in!
Variations on Grilled Cheese Roll-Ups
Get ready to elevate your grilled cheese roll-ups with these delicious variations!
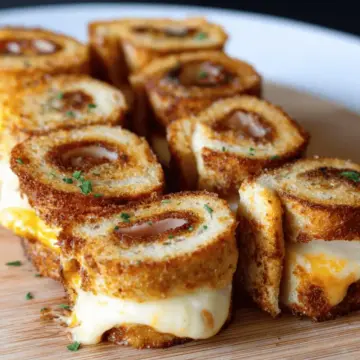
Spinach and Cheese Roll-Ups
For a nutritious twist, add fresh spinach to your roll-ups. Simply place a handful of sautéed or raw spinach alongside your cheese before rolling. The vibrant greens not only boost flavor but also add a nice pop of color.
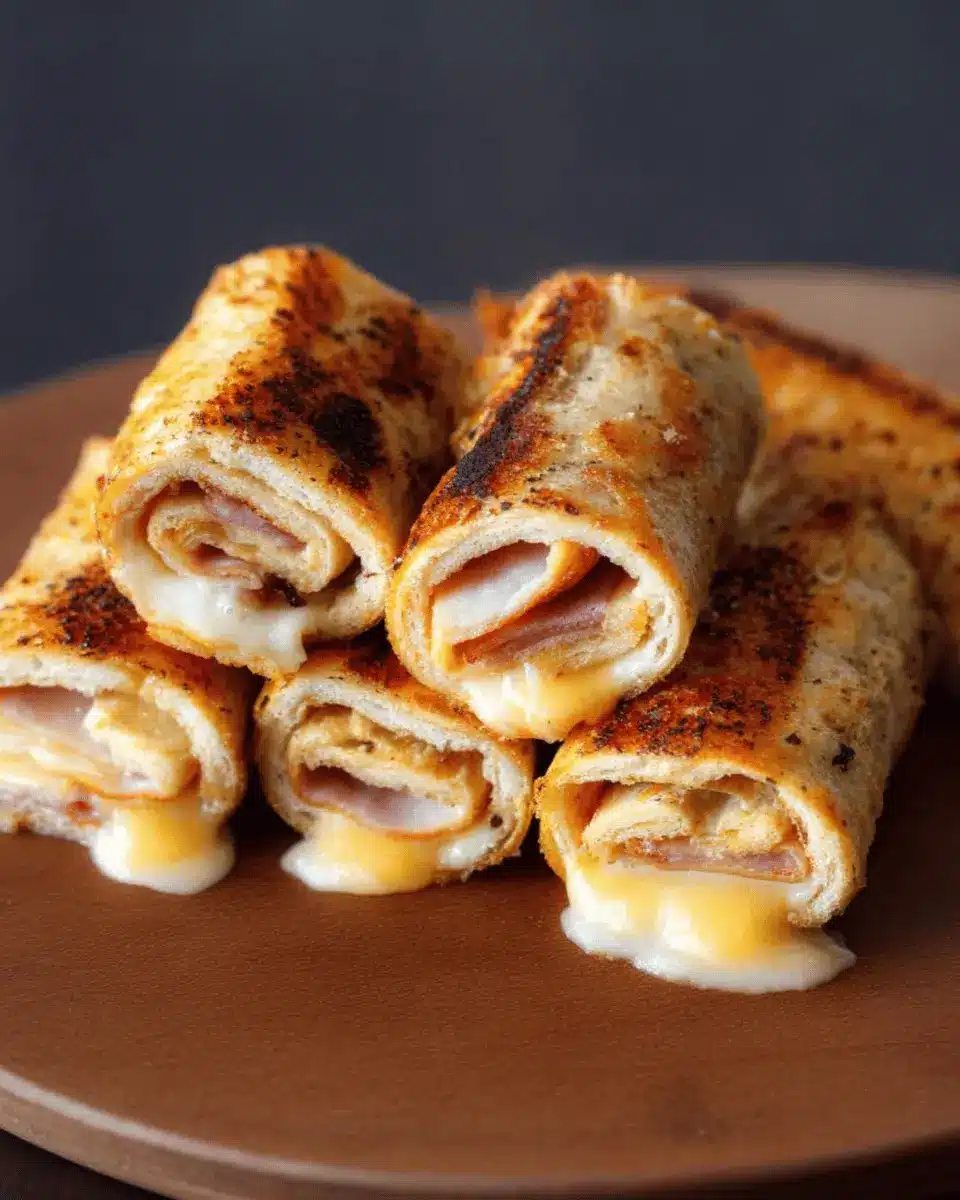
Turkey Bacon Roll-Ups
If you love a savory crunch, try incorporating crispy turkey bacon. Place a strip of turkey bacon inside with the cheese. The smoky flavor perfectly complements the melty goodness, making a satisfying treat for any time of day.
Chicken Ham Roll-Ups
For a heartier option, add slices of chicken ham. The protein-rich addition pairs beautifully with cheese, creating a filling snack that’s both satisfying and scrumptious.
Experiment with these ideas to personalize your grilled cheese roll-ups, and don’t forget to share your favorites!
Cooking Tips and Notes for Grilled Cheese Roll-Ups
Choosing the Right Bread
When it comes to making delicious grilled cheese roll-ups, the choice of bread can make all the difference. Opt for soft, fresh bread like white or sourdough, as older or crusty breads may crack when rolled. If you’re feeling adventurous, try whole grain or even a fun-flavored bread for added texture!
Preventing the Cheese from Oozing Out
To keep your cheese snug inside, ensure you’re sealing your roll-ups tightly. Start cooking seam side down, and use toothpicks to keep everything in place. This method not only helps but also makes flipping easier. Don't hesitate to add a bit of extra butter as needed for that golden crispiness!
Storing Leftovers
If you have any grilled cheese roll-ups left (though it's hard to imagine!), store them in a zippered bag in the fridge for up to three days. When it's time to enjoy them again, simply reheat in a dry pan or air fryer to keep the crunch intact. Perfect for a quick snack!
Serving suggestions for Grilled Cheese Roll-Ups
Homemade dips to pair with your roll-ups
Elevate your grilled cheese roll-ups with some homemade dipping sauces! Consider pairing them with:
- Classic Tomato Basil Dip: A warm, vibrant classic that complements the gooey cheese.
- Creamy Avocado Sauce: Blend ripe avocados with lime juice and garlic for a zesty kick.
- Spicy Sriracha Mayo: Mix mayonnaise with Sriracha for those who crave a little heat.
These dips not only bring flavor but also add a fun element to the meal!
Creative plating ideas
Presentation is half the fun! To make your grilled cheese roll-ups even more enticing, try these serving ideas:
- Stacked Roll-Up Tower: Arrange your roll-ups vertically with toothpicks for a playful tower presentation.
- Colorful Vegetable Garnish: Serve alongside colorful veggies like cherry tomatoes and bell pepper strips to add freshness.
- Personalized Plates: Let guests customize their dining experience by plating individual roll-ups with different dips.
By adding these finishing touches, your grilled cheese roll-ups will not only taste delicious but also look spectacular on the table!
Time Breakdown for Grilled Cheese Roll-Ups
Preparation Time
Getting your ingredients and tools ready is quick and easy! You’ll only need about 5 minutes to prep your bread and cheese.
Cooking Time
Once you start cooking, it takes just 5 minutes to achieve that delicious golden-brown finish and melty cheese perfection.
Total Time
In just 10 minutes, you can have these delightful grilled cheese roll-ups ready to serve. Perfect for a snack or a fun lunch!
These fast and tasty treats are great for busy professionals looking to whip up something special without spending hours in the kitchen. Check out Spend With Pennies for more quick recipe ideas that fit into your busy lifestyle!
Nutritional Facts for Grilled Cheese Roll-Ups
Calories per roll-up
Each delightful grilled cheese roll-up contains approximately 242 calories. This makes them a satiating yet indulgent snack or meal option to satisfy your cheesy cravings.
Protein content
One roll-up offers about 10 grams of protein, thanks to the cheese. This nutrient not only supports muscle repair but also keeps you feeling fuller for longer, making these roll-ups a smart choice for busy professionals.
Sodium levels
With around 361 mg of sodium per roll-up, it’s wise to keep this in mind, especially if you're watching your sodium intake. Pair your grilled cheese roll-ups with a fresh salad for a more balanced meal and added nutrition!
For more nutritious meal ideas, consider checking resources like Healthline for tips on maintaining a balanced diet.
FAQs about Grilled Cheese Roll-Ups
Can I use different types of cheese?
Absolutely! One of the best parts of making grilled cheese roll-ups is that you can customize them to suit your taste. While sharp cheddar and Monterey Jack are popular choices, feel free to experiment with mozzarella, gouda, or pepper jack for a kick. Just make sure your cheese melts well for that gooey texture everyone loves.
How do I make it healthier?
If you're aiming for a healthier version of these tasty treats, consider using whole-grain bread instead of white bread, as it provides more fiber. You can also opt for reduced-fat cheese varieties or add in some veggies, like spinach or tomatoes, for added nutrients. These simple swaps can maintain the deliciousness while boosting the health factor.
What’s the best way to reheat leftover roll-ups?
To keep your grilled cheese roll-ups crispy when reheating, place them in a dry non-stick pan over medium heat, turning occasionally until warmed through. Alternatively, you can use an air fryer for about 5 minutes at 350°F to achieve that perfect crunch again. You’ll enjoy them like they were just made!
Conclusion on Grilled Cheese Roll-Ups
Grilled cheese roll ups are a delightful twist on a beloved classic, perfect for any occasion. Easy to prepare and even easier to enjoy, these roll ups are sure to impress family and friends alike. Try them out for your next gathering or a cozy night in, and savor every bite!
Grilled Cheese Roll Ups
Equipment
- Toothpicks
Ingredients
- 8 slices white bread crusts removed
- 8 slices sharp cheddar cheese or Monterey Jack, Colby, Swiss
- melted butter as needed
Instructions
- Using a rolling pin, roll slices of bread flat.
- Place one slice of cheese (or 2-3 tablespoons grated cheddar). Roll up bread & cheese and secure with a toothpick.
- Brush the outside with melted butter (or you can quickly roll them in the butter) and place in a pan, seam side down, over medium heat.
- Turn with tongs until all sides are browned and cheese is melted.


Leave a Reply