
Introduction to Red Velvet Crinkle Cookies
The magic of red velvet crinkle cookies
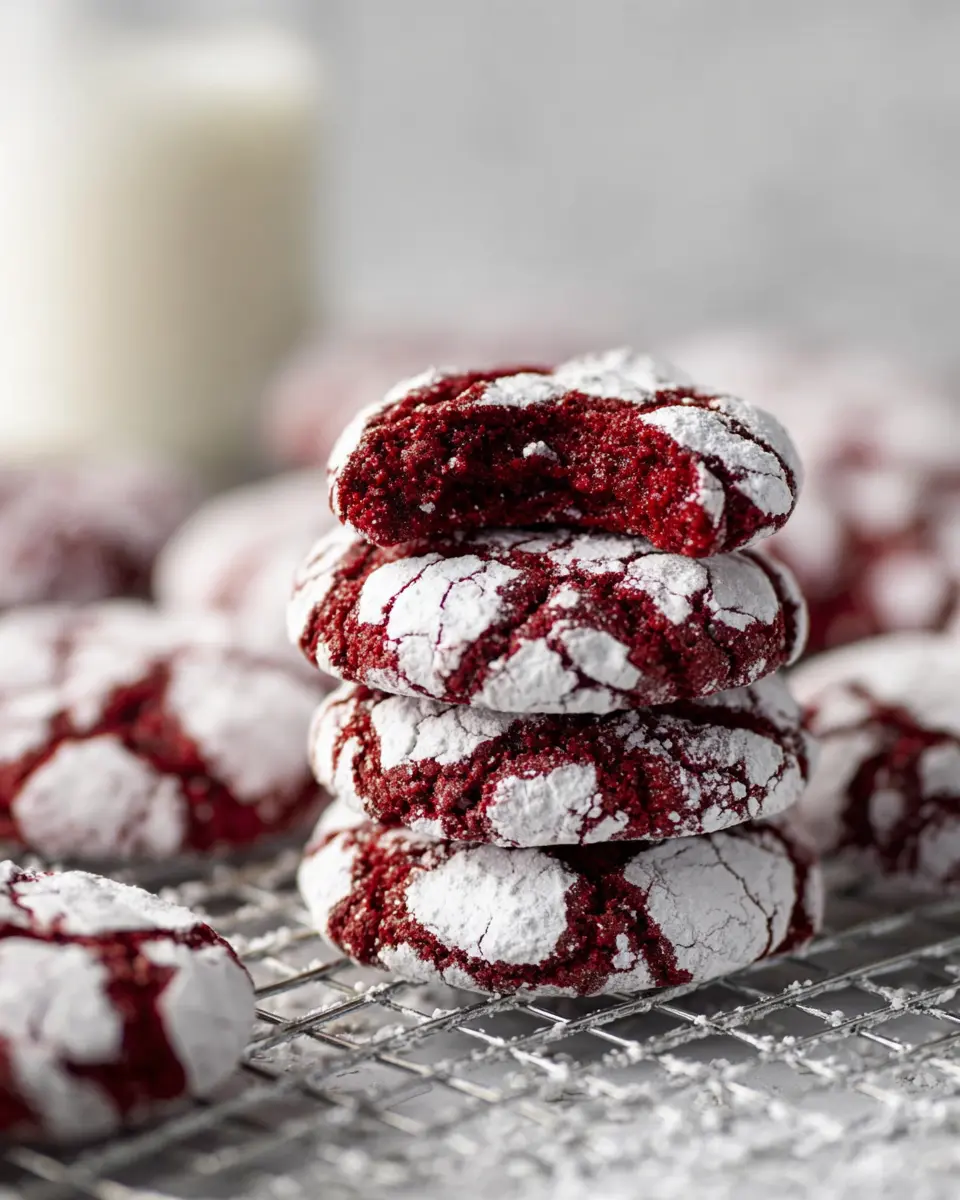
If you've ever been enchanted by the rich, velvety textures and festive hues of red velvet cake, then you’re in for a treat with these red velvet crinkle cookies. Imagine taking that classic dessert and crafting it into bite-sized delights that not only taste divine but also look stunning on any dessert table. These cookies are the perfect marriage of fudgy goodness and playful aesthetics, making them irresistible for both the young and the young-at-heart.
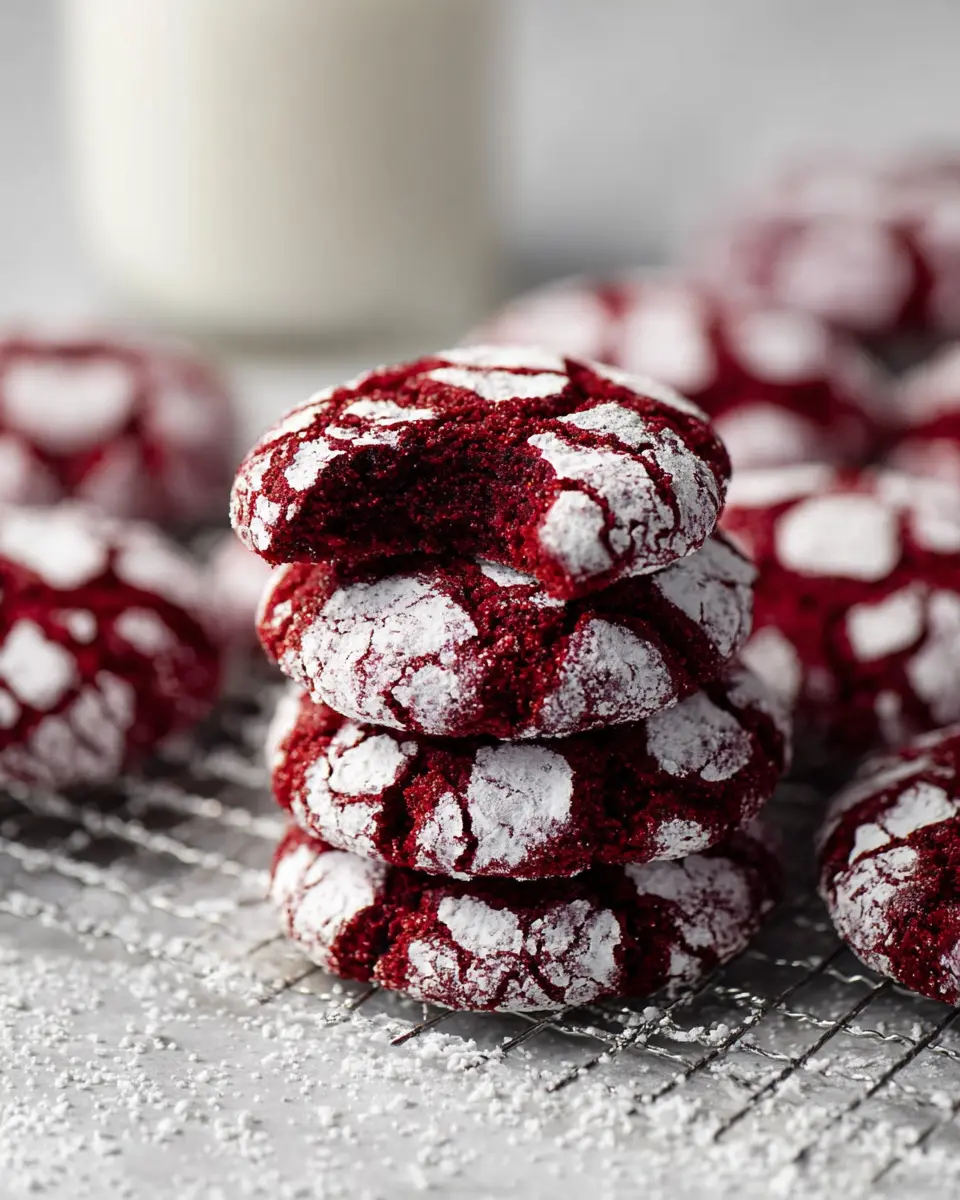
What makes these cookies so special? It’s all about the delightful contrast between the deep red hue and the snowy white powdered sugar coating. As they bake, they crack and puff, resulting in a soft center that melts in your mouth with each delectable bite. Plus, they’re super easy to make—ideal for a last-minute holiday treat or a fun baking project over the weekend.
Whether you’re preparing for a holiday party, a cozy night in, or just want to surprise friends with something tasty, red velvet crinkle cookies are a wonderful choice. Let’s dive into this simple yet delightful recipe that will have everyone asking for seconds! You can check out the full recipe here.
Ingredients for Red Velvet Crinkle Cookies
Creating those scrumptious red velvet crinkle cookies is all about the right ingredients. Here’s everything you need to bring these festive treats to life.
Basic ingredients list
To get started, gather these essential components:
- ½ cup unsalted butter, softened
- ¾ cup light brown sugar, packed
- ½ cup granulated sugar
- 2 large eggs, at room temperature
- 2 teaspoons vanilla extract
- ½ teaspoon professional red food coloring*
- 2 cups all-purpose flour
- ⅓ cup cocoa powder
- 1 ½ teaspoons baking powder
- ½ teaspoon salt
- For the coating:
- ½ cup granulated sugar
- ½ cup powdered sugar
Optional ingredients for customization
Want to put your own spin on these cookies? Here are a few ideas:
- Chocolate chips: Fold in some semi-sweet or white chocolate chips for added sweetness.
- Nuts: Chopped pecans or walnuts can add a nice crunch and depth of flavor.
- Spices: A pinch of cinnamon or nutmeg can elevate the cookie's taste just in time for the holidays.
Feel free to experiment — creating the perfect red velvet crinkle cookie is all about what you love! For more details, check out this baking guide for extra tips.
Preparing Red Velvet Crinkle Cookies
Baking is not just about mixing ingredients; it’s an experience filled with excitement and a bit of magic! Red velvet crinkle cookies are a delightful twist on classic cookies, perfect for gatherings or cozy nights in. Let’s dive into how to prepare these delicious treats step-by-step.
Preheat and Prepare Your Baking Sheet
Start by preheating your oven to 350°F (175°C). This is crucial as it allows your cookies to bake evenly. While the oven heats up, line your favorite baking sheet with parchment paper. This simple step ensures your cookies won’t stick, making clean-up a breeze and giving you perfectly baked cookie bottoms.
Cream the Butter and Sugars
In a large mixing bowl, cream together ½ cup of softened unsalted butter, ¾ cup of light brown sugar, and ½ cup of granulated sugar. This process should take about 2-3 minutes using a hand mixer or stand mixer. The mixture should be light and fluffy — a perfect texture to help your red velvet crinkle cookies rise beautifully!
Incorporate the Eggs and Flavorings
Next, add in 2 large room-temperature eggs one at a time, beating well after each addition. This helps emulsify the mixture, making the cookies tender. Don’t forget to add 2 teaspoons of vanilla extract and ½ teaspoon of professional red food coloring for that vibrant red hue! Mixing until the batter is uniform ensures you get that classic red velvet flavor throughout.
Sift and Combine the Dry Ingredients
In a separate bowl, sift together 2 cups of all-purpose flour, ⅓ cup of cocoa powder, 1 ½ teaspoons of baking powder, and ½ teaspoon of salt. Sifting not only breaks up any lumps but also aerates the flour, contributing to the lightness of your cookies. Gradually add the dry mix to your creamed ingredients, beating until combined. This is where your dough starts to take shape!
Shape and Coat the Cookie Dough
Now for the fun part! Use a 1-ounce cookie scoop (or a tablespoon) to scoop out dough. First, roll each ball in granulated sugar, then in powdered sugar. This two-coat method creates that beautiful crinkly effect when baking, making your red velvet crinkle cookies not only delicious but visually stunning. Place them on your prepared baking sheet about an inch apart to give them room to spread.
Bake the Cookies to Perfection
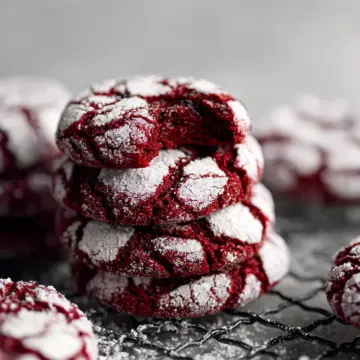
Pop your baking sheet into the preheated oven for about 10 minutes. You’ll know they’re done when they have puffed up and cracked on the surface but are still slightly gooey in the center. Let them cool for a few minutes before transferring to a wire rack. The result? Chewy, fudgy, red velvet crinkle cookies that are sure to become a favorite!
Now, gather friends, a glass of cold milk, and enjoy your delectable homemade treats! Don’t forget to share your cookie-making adventures on social media and inspire others to indulge in this festive delight!
Variations on Red Velvet Crinkle Cookies
When it comes to red velvet crinkle cookies, the classic recipe is fantastic, but why not get creative? Here are some delightful variations to try!
Adding Chocolate Chips
For the ultimate chocolate lover, mix in 1 cup of chocolate chips into the dough before scooping. This additional layer of sweetness and richness elevates the flavor and texture, making each bite all the more scrumptious!
Incorporating Nuts or Dried Fruit
Give your red velvet crinkle cookies a delightful twist by folding in chopped nuts or dried fruit. Walnuts, pecans, or even dried cranberries add a chewy contrast to the soft crinkle cookie. Plus, it’s a chance to customize the flavor profile to match your taste or the season—just imagine cranberry walnut for the holidays!
Experiment with these variations and find your favorite!
Baking Tips for Red Velvet Crinkle Cookies
Ensuring the Right Texture
To achieve that perfectly fudgy texture in your red velvet crinkle cookies, focus on not overbaking. The cookies should be slightly underbaked in the center when you pull them out of the oven. This gives them that delicious gooeyness that makes them irresistible. It might be tempting to leave them in longer for a firmer texture, but trust me—the magic happens in those last few minutes.
Importance of Chilling the Dough
Chilling the dough is a game changer! After mixing, let your cookie dough chill in the fridge for at least 30 minutes. This step firms up the butter and allows the flavors to meld beautifully. It also helps prevent the cookies from spreading too much during baking, ensuring those beautiful cracks form on the surface of your red velvet crinkle cookies. Happy baking!

Serving Suggestions for Red Velvet Crinkle Cookies
Ideal Accompaniments
Pair your red velvet crinkle cookies with festive favorites to elevate your dessert game. A tall glass of ice-cold milk is a classic choice, but why not try serving them alongside a creamy scoop of vanilla ice cream? For an extra indulgent treat, you could create a delightful cookie sundae topped with whipped cream and sprinkles! If you’re feeling adventurous, consider a steaming cup of hot chocolate or a seasonal spiced latte for a cozy pairing.
Perfect Occasions for Serving
These vibrant cookies shine brightest at holiday gatherings and festive celebrations. Try bringing them to a cookie exchange, as a sweet surprise for a friend’s birthday, or even as a charming addition to a Valentine’s Day treat platter! They are also perfect for classroom parties or as a delightful dessert to leave for Santa on Christmas Eve. Whichever occasion you choose, these enticing treats will undoubtedly steal the spotlight!
For more pairing ideas, check out this guide on cookies and drinks.
Time breakdown for Red Velvet Crinkle Cookies
Preparation time
Get ready for some fun in the kitchen! The preparation time for these delightful red velvet crinkle cookies is just 10 minutes. You'll be whipping up the dough in no time, allowing you to get straight to those sweet surprises.
Baking time
Once your cookies are rolled and ready, it’s time to pop them in the oven. The baking time is a quick 10 minutes. You'll want to keep an eye on them as they puff and crack—this is when the magic happens!
Total time
In just 20 minutes, you can have a batch of scrumptious red velvet crinkle cookies that are ready to be enjoyed. Perfect for last-minute holiday gatherings or a cozy night in, these cookies are as delicious as they are easy to make!
If you’re curious about the science behind these cookies, check out this informative article on the baking process here. Happy baking!
Nutritional Information for Red Velvet Crinkle Cookies
Understanding the nutritional breakdown of your favorite treats can help you make informed choices. Here’s a quick look at the key elements in these delicious red velvet crinkle cookies:
Calories
Each cookie contains approximately 150 calories, making them a delightful yet indulgent treat for special occasions or cozy nights in.
Sugar Content
With about 12 grams of sugar per cookie, these sweet bites pack a punch. Enjoy them in moderation to savor that rich taste without the sugar overload!
Fat Content
These cookies have roughly 7 grams of fat each, which contributes to their signature fudgy texture. Pair them with a cold glass of milk for a classic experience!
By keeping these figures in mind, you can indulge responsibly and share them joyfully with friends and family. For more details on balanced snacking, check out resources from Nutrition.gov.
FAQs about Red Velvet Crinkle Cookies
Can I use different types of food coloring?
Absolutely! While we recommend using professional red food coloring for vibrant red velvet crinkle cookies, you can experiment with other types. Just keep in mind that the intensity may vary. If you're using a gel or liquid version, you might need to adjust the amount to achieve your desired color. A rich red hue adds that festive flair, making these cookies irresistible.
How do I store leftover cookies?
To keep your red velvet crinkle cookies fresh, store them in an airtight container at room temperature. They should stay delicious for up to a week! If you want to keep them longer, consider freezing them. Just ensure they’re properly wrapped to prevent freezer burn. When you’re ready to enjoy them again, simply thaw at room temperature.
What can I do if my cookies spread too much?
If your cookies spread excessively while baking, there are a few possible culprits. Check if your dough was too warm, which can happen if you skip chilling. Additionally, using too much butter or not enough flour can lead to spreading. To fix this, you could refrigerate the dough for about 30 minutes before baking to help maintain their shape. For more cookie tips, check out this a helpful guide.
Conclusion on Red Velvet Crinkle Cookies
Red velvet crinkle cookies are a delightful addition to any dessert table, bringing a festive touch to your holiday gatherings. Their soft, fudgy texture and rich flavor make them irresistible—perfect for sharing with friends or leaving out for Santa. Try these cookies and watch everyone smile!
Red Velvet Crinkle Cookies
Equipment
- baking sheet
- Mixing Bowls
- cookie scoop
Ingredients
Base Ingredients
- ½ cup unsalted butter softened
- ¾ cup light brown sugar packed
- ½ cup granulated sugar
- 2 large eggs room temperature
- 2 teaspoons vanilla extract
- ½ teaspoon professional red food coloring *
- 2 cups all-purpose flour
- ⅓ cup cocoa powder
- 1 ½ teaspoons baking powder
- ½ teaspoon salt
Coating Ingredients
- ½ cup granulated sugar
- ½ cup powdered sugar
Instructions
Preparation
- Preheat the oven to 350°F and line a baking sheet with parchment paper. Set aside.
- Cream the butter, brown sugar, and granulated sugar together in a large bowl until light and fluffy.
- Scrape down the bowl and add the eggs one at a time, beating between each addition. Add the vanilla and red food coloring, and mix well.
- In a separate bowl sift together the flour, cocoa powder, baking powder, and salt to combine.
- Add the dry ingredients to the wet and beat together until combined.
- Fill one bowl with granulated sugar and one bowl with powdered sugar. Use a 1 ounce cookie scoop (or tablespoon) to scoop cookies out.
- Roll the balls first in the granulated sugar and then in the powdered sugar to completely coat the cookie balls.
- Place on the prepared cookie sheet an inch apart. Bake for 10 minutes or until the cookies have puffed up and cracked, but are still a little gooey in the center.
- Allow to cool and enjoy with a glass of milk!


Leave a Reply