
Introduction to the Best Banana Pudding
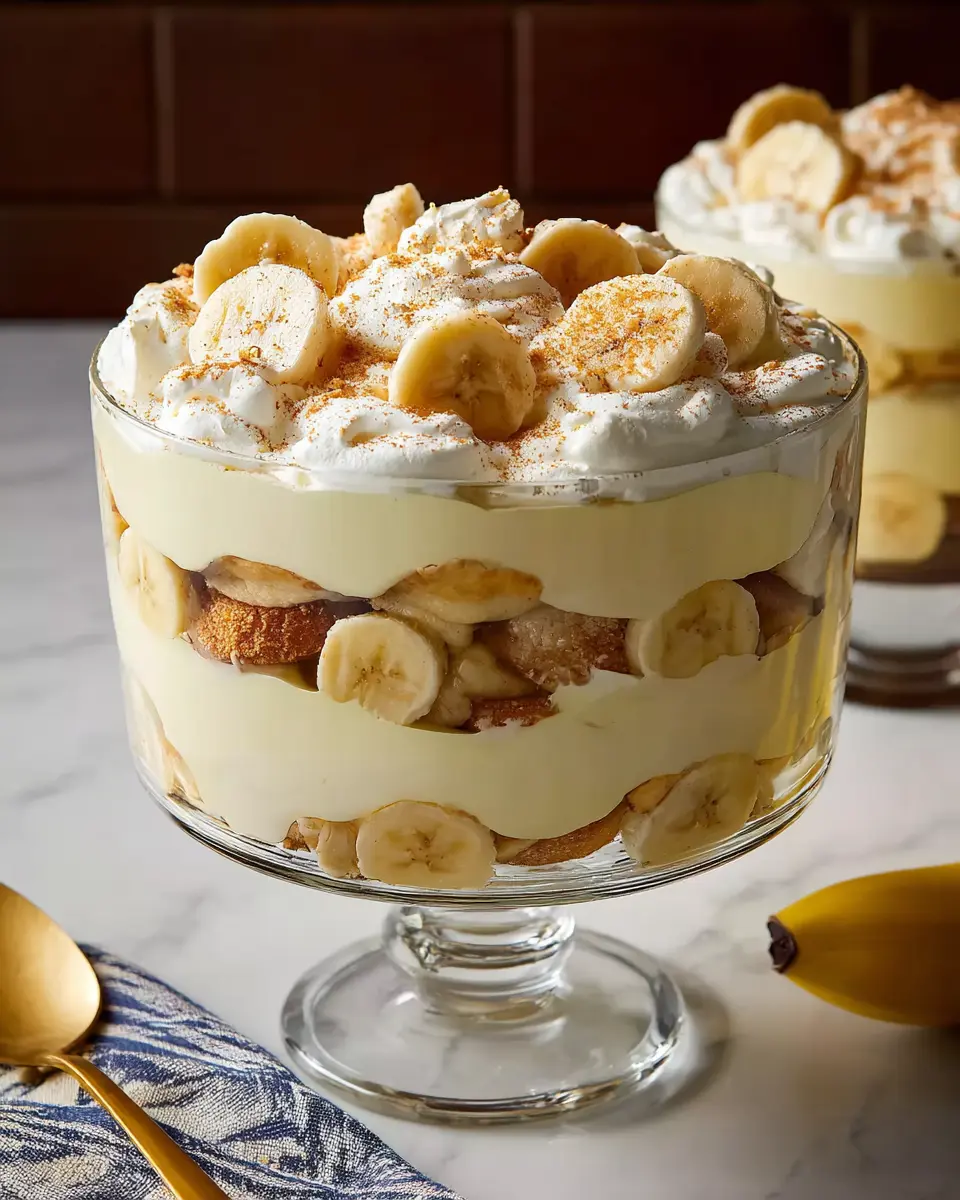
Banana pudding is more than just a dessert; it’s a timeless classic that brings a wave of nostalgia with every spoonful. Whether it’s served at family gatherings or summertime barbecues, this delightful treat has a magical way of making everyone feel at home. The rich creaminess, combined with the sweetness of ripe bananas and the delightful crunch of vanilla wafers, creates an irresistible harmony that warms the heart.
So, why is banana pudding considered such an iconic comfort food? For starters, it’s incredibly versatile. You can whip it up for a casual weeknight treat or impress guests at a dinner party. Its no-cook recipe makes it a lifesaver for busy young professionals looking to satisfy a sweet tooth without fussing over lengthy prep work. Plus, the thrill of layering fresh ingredients makes for a fun kitchen experience.
Did you know that banana pudding has roots stretching back to the 19th century? According to FoodTimeline.org, the combination of bananas and creamy custard has been enjoyed for generations, evolving into the beloved staple it is today. When you take a bite of the best banana pudding, you’re not just enjoying a dessert; you’re indulging in a slice of culinary history.
Ingredients for the Best Banana Pudding
Creating the best banana pudding starts with quality ingredients that make all the difference. Here’s what you’ll need:
- 2 cups cold milk: Use whole milk for creaminess or opt for 2% if you're looking for something lighter.
- 1 (5-ounce) package instant vanilla pudding mix: This is key for that smooth, velvety texture.
- 1 (14-ounce) can sweetened condensed milk: It adds a rich sweetness that elevates the entire dish.
- 1 tablespoon vanilla extract: Choose pure vanilla extract for a deeper flavor; it's worth it!
- 1 (12-ounce) container frozen whipped topping (thawed): This creates the light, airy consistency.
- 1 (16-ounce) package vanilla wafers: Classic and essential for that crunchy layer.
- 12 small bananas, sliced or more as needed: Ripe bananas bring natural sweetness and flavor.
These ingredients come together to create layers of deliciousness. Don’t skimp on the bananas! The more, the merrier. For tips on banana selection, check out this helpful guide. With these simple yet impactful ingredients, you’re on your way to serving the best banana pudding your friends will rave about!
Preparing the Best Banana Pudding
When you think of comfort food, nothing quite compares to the sheer joy of a well-made banana pudding. This no-cook recipe creates layers of creamy goodness, vanilla wafers, and fresh bananas that will make you the star of any gathering. Let’s dive into how to prepare the best banana pudding possible!
Gather Your Ingredients
The first step to making the best banana pudding is ensuring you have all your ingredients ready. Here's what you'll need:
- 2 cups cold milk
- 1 (5-ounce) package instant vanilla pudding mix
- 1 (14-ounce) can sweetened condensed milk
- 1 tablespoon vanilla extract
- 1 (12-ounce) container frozen whipped topping, thawed
- 1 (16-ounce) package vanilla wafers
- 12 small bananas, sliced (or more if you prefer)
Getting organized saves time and ensures your pudding comes together seamlessly. Plus, you get to enjoy the delightful smells of vanilla and bananas while prepping!
Mix the Pudding Base
Begin by pouring the cold milk and the pudding mix into a large mixing bowl. Use a whisk to combine these elements for about two minutes; this helps thicken your pudding base. It’s amazing how just two ingredients can create such a rich texture! After that, add in your sweetened condensed milk, whisking until the mixture is smooth and creamy. This step is crucial, as the condensed milk adds an irresistible sweetness that elevates the overall flavor.
For expert tips on creating the best pudding base, check out this handy guide.
Combine with Whipped Topping
Now it's time to integrate the elements. Stir in your tablespoon of vanilla extract for that extra flavor kick before gently folding in the thawed whipped topping. Folding is like a culinary hug: it keeps the airiness of the whipped topping intact while blending flavors—this is key for the creamy texture of your pudding.
Layer the Ingredients
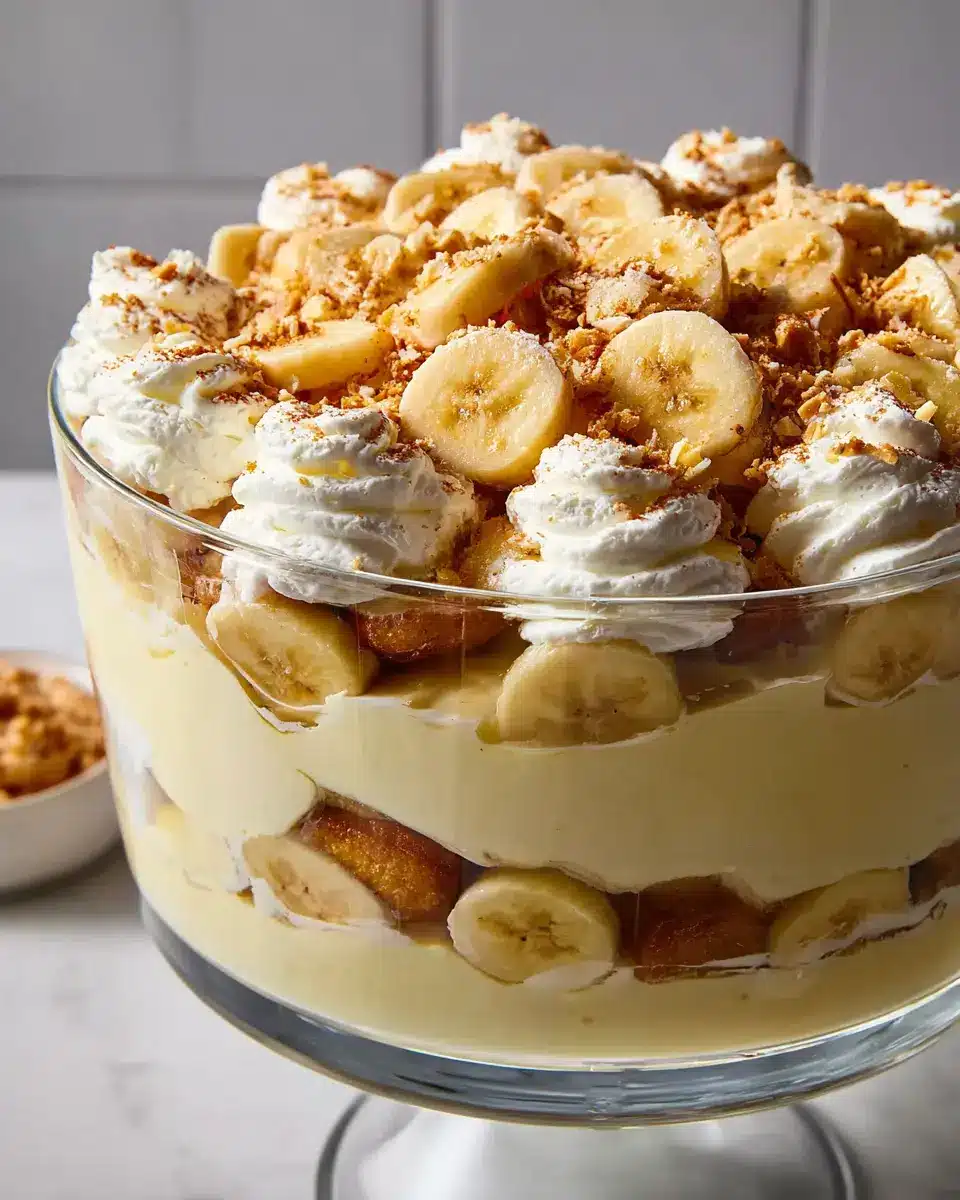
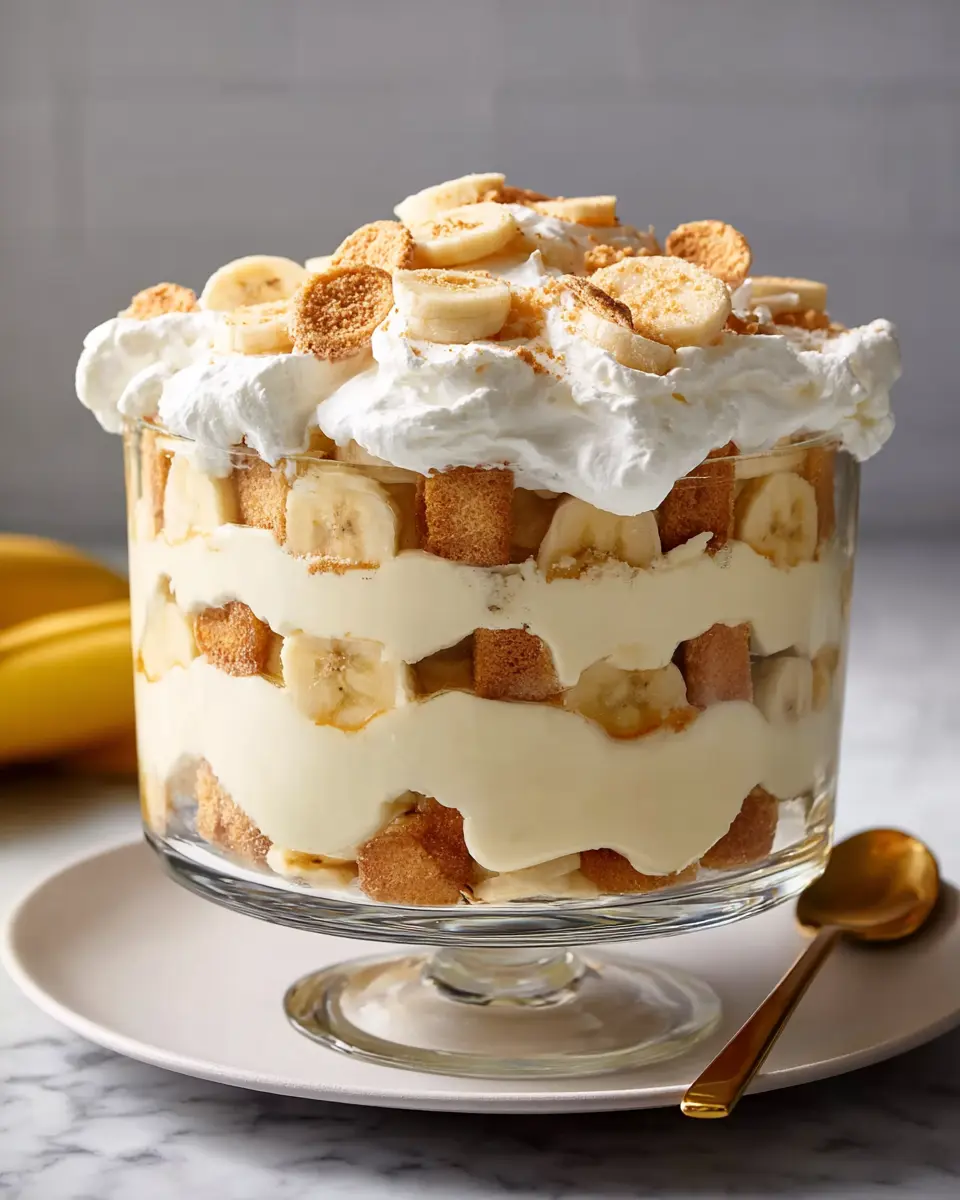
Grab your glass serving bowl (a trifle dish works beautifully here) and start layering! Lay a bottom layer of vanilla wafers, followed by a generous helping of banana slices and a scoop of your pudding mixture. Repeat this process, alternating layers until you run out of ingredients. Not only does this create a stunning visual, but the layers of flavor meld beautifully over time.
Chill and Serve
For the best results, allow your masterpiece to chill in the refrigerator for at least an hour before serving. This waiting period enhances flavors and allows the ingredients to come together harmoniously. Just before you serve, consider adding a sprinkle of crushed vanilla wafers on top as a finishing touch. They add a little crunch and visual appeal!
Embrace the joy of sharing this delightful dessert at your next gathering. It's sure to leave everyone asking for seconds, or even thirds! Don't forget, you can find more tips and tricks for dessert perfection in resources like Bon Appétit. Enjoy your culinary adventure!
By following these steps, you'll be well on your way to creating the best banana pudding that your friends and family will rave about. Happy baking!
Variations on the Best Banana Pudding
Chocolate Banana Pudding Twist
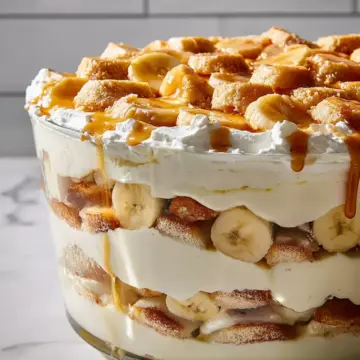
Ready to elevate the best banana pudding into a chocolate delight? Simply incorporate chocolate pudding mix into the recipe! Substitute half of the vanilla pudding mix with chocolate pudding, and layer it with chocolate wafer cookies for a rich, indulgent twist. The result is a delicious blend of creamy banana and chocolate that’s sure to impress at your next gathering. You might even want to drizzle some chocolate syrup on top — it adds an extra layer of luxury!
Vegan Banana Pudding Alternative
For a plant-based option that doesn't skimp on flavor, try this vegan version of the best banana pudding. Replace regular milk with almond or coconut milk and use a vegan whipped topping. Opt for a vegan vanilla pudding mix as well, ensuring all ingredients are dairy-free. The result is a light, creamy treat that everyone can enjoy, regardless of dietary restrictions. Can you imagine a more inclusive dessert at your gatherings? Check out reputable sites like Minimalist Baker for more vegan-friendly inspiration!
Cooking Tips and Notes for the Best Banana Pudding
Creating the best banana pudding requires just a few handy tips to elevate your culinary game. Start with ripe bananas for the sweetest flavor—overripe is even better! If you're preparing it ahead of time, consider layering the pudding right before serving to prevent the bananas from browning.
Make sure to chill the pudding for at least an hour; this step allows the flavors to meld beautifully. For an extra crunch, sprinkle some crushed vanilla wafers on top just before serving. Don't rush this; the dessert is all about patience and attention to detail.
For more tips, check out Epicurious or visit Serious Eats. Happy cooking!
Serving Suggestions for the Best Banana Pudding
When it comes to serving the best banana pudding, presentation is key! To elevate your dessert:
-
Chill before serving: Allowing the pudding to rest in the refrigerator enhances the flavors and textures. Plus, it ensures a refreshing treat on warm days.
-
Garnish creatively: Top each serving with whipped cream, additional banana slices, or a sprinkle of crushed vanilla wafers for a delightful crunch.
-
Serve in individual cups: For a more personal touch, layer pudding in clear cups. This allows guests to see the beautiful layers and makes for a charming presentation.
-
Pair with a beverage: A glass of iced tea or cold almond milk can perfectly complement the sweetness of the pudding, making each bite even more enjoyable.
Creating those memorable moments around your banana pudding is just as important as the recipe itself! For more dessert inspiration, check out this article on how to style desserts for serving.
Time Breakdown for the Best Banana Pudding
Preparation time
Making the best banana pudding is a breeze, requiring just 25 minutes of your time. Gather your ingredients and follow the simple steps to whip up a delicious dessert that everyone will love!
Chilling time
While you can dive into this delightful treat right away, allowing it to chill for at least 1 hour enhances the flavors and gives it the perfect creamy texture. Patience here definitely pays off!
Total time
From start to finish, you’re looking at a total time of 25 minutes for preparation and cooling combined. So in no time at all, you’ll have a flavorful dessert ready to impress your friends and family.
Why not whip up the best banana pudding today? It’s simple, satisfying, and absolutely delicious. For more dessert ideas, you might also enjoy exploring no-cook options from renowned sources like Food Network or Epicurious!
Nutritional Facts for the Best Banana Pudding
When indulging in the best banana pudding, it’s good to know what you’re savoring! In every serving, you'll be delighted to find:
Calories
- 329 calories: A satisfying treat that fits well within a balanced diet.
Sugars
- 29g of sugars: Absolutely sweet, thanks to the bananas and condensed milk.
Dietary Fiber
- 3g of dietary fiber: Offers a slight health boost, thanks to those lovely bananas!
Being aware of these nutritional facts can help you enjoy your dessert guilt-free! For more tips on incorporating fruits into your desserts, check out Healthline. Happy indulging!
FAQs about the Best Banana Pudding
Can I make banana pudding ahead of time?
Absolutely! In fact, making the best banana pudding ahead of time can enhance the flavors as they meld together. You can prepare it a day or two in advance; just make sure to cover it tightly with plastic wrap or a lid to keep it fresh. When you're ready to serve, simply add a sprinkle of crushed vanilla wafers on top for a delightful crunch.
How do I keep bananas from turning brown?
To keep those banana slices looking fresh and appetizing, dip them in lemon juice or a mixture of water and a bit of lemon juice before layering in your pudding. The citric acid in lemon helps slow down the browning process. Alternatively, placing the bananas in a bowl of cold water for a few minutes can also work wonders!
What can I substitute for vanilla wafers?
If you're not a fan of vanilla wafers or want a different twist, consider using alternatives like graham crackers, shortbread cookies, or even gluten-free cookie options. Each substitution brings its own unique flavor to the best banana pudding experience, so don't hesitate to get creative!
For more tips on keeping your desserts fresh, check out resources from the Food Network and other culinary experts.
Conclusion on the Best Banana Pudding
When it comes to the best banana pudding, this recipe truly shines. With its easy layers of creamy pudding, fresh bananas, and crunchy vanilla wafers, it’s bound to be a crowd-pleaser. Perfect for any occasion, it’s a nostalgic treat that brings smiles to all. Enjoy every bite!
The Best Banana Pudding
Equipment
- large bowl
- whisk
- glass serving bowl
Ingredients
Pudding Mixture
- 2 cups cold milk
- 1 5-ounce package instant vanilla pudding mix
- 1 14-ounce can sweetened condensed milk
- 1 tablespoon vanilla extract
- 1 12-ounce container frozen whipped topping, thawed
Layers
- 1 16-ounce package vanilla wafers
- 12 small bananas, sliced or more as needed
Instructions
Preparation
- Gather all ingredients.
- Place milk and pudding mix in a large bowl; beat with a whisk for 2 minutes. Whisk in condensed milk until smooth.
- Stir in vanilla, then fold in whipped topping.
- Arrange a layer of wafers in the bottom of a glass serving bowl. Top with a layer of banana slices, then a layer of pudding mixture; repeat layers until all ingredients are used.
- For best results, chill pudding in the refrigerator for at least 1 hour before serving. Top with extra crushed wafers just before serving.
- Enjoy!

Leave a Reply