
Introduction to Italian Chicken Panini
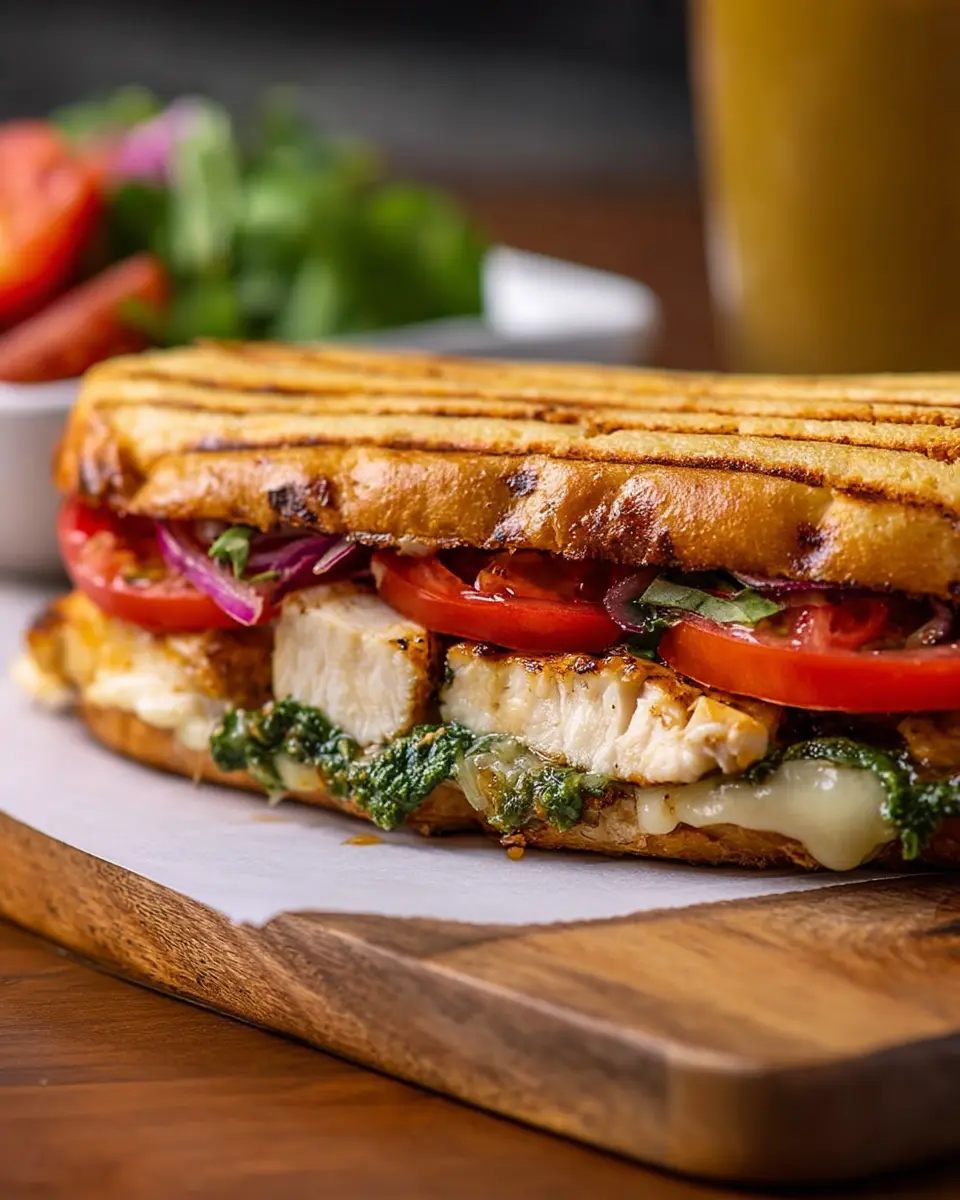
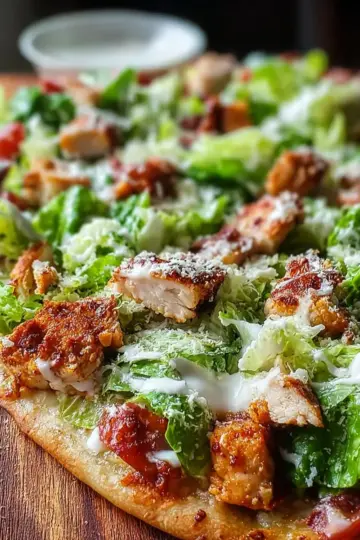
When it comes to homemade meals, the Italian Chicken Panini stands out as an ideal choice. Not only is it incredibly easy to whip up, but it’s also a burst of flavors that can elevate any lunch or dinner. Using simple ingredients you might already have at home, this delightful sandwich features crusty bread layered with gooey mozzarella, roasted red peppers, and tender shredded chicken, all bathed in garlicky pesto.
One of the best things about making paninis is the versatility they offer. You can customize them according to your taste preferences or whatever ingredients you have on hand. Plus, they’re perfect for meal prepping. Prepare a few in advance, and you’ll have delicious meals ready to go for the week, saving you time and effort.
Not only is the Italian Chicken Panini quick to assemble, but it also packs in nutrition thanks to ingredients like chicken and vegetables. For a delightful crunch alongside your panini, consider pairing it with a fresh salad or a side of homemade soup. If you’re eager to impress at your next gathering or simply want a satisfying meal, the Italian Chicken Panini is your perfect culinary companion.
For more delicious sandwich ideas, check out this guide to making the perfect panini.
Ingredients for Italian Chicken Panini
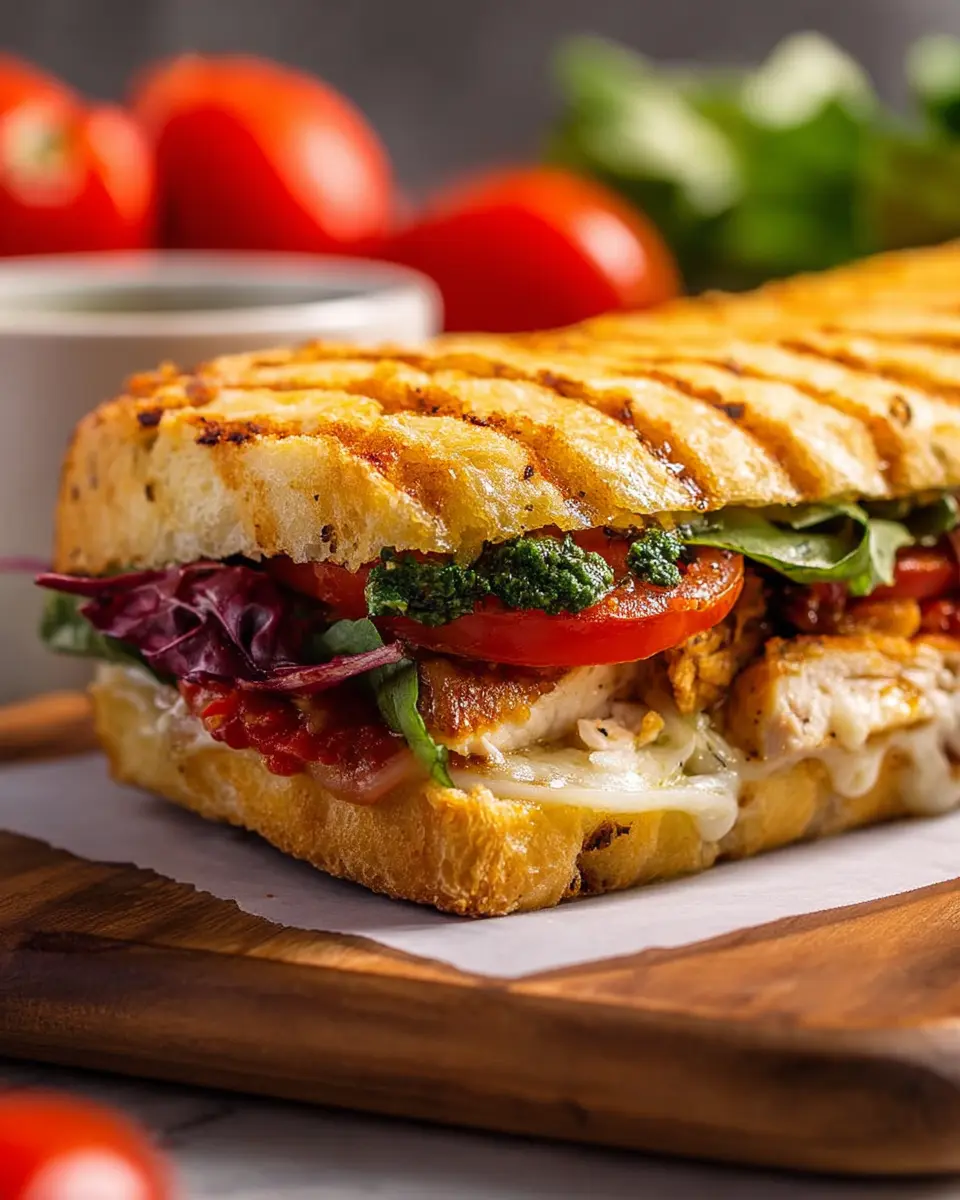
Creating the perfect Italian Chicken Panini requires a medley of flavors and textures that come together beautifully. Here’s what you need:
Essential ingredients for a delicious panini
- Italian bread: Opt for thick slices that can hold the fillings without falling apart.
- Pesto: This garlicky delight is the heart of the dish, adding depth and flavor.
- Cooked chicken breast: Sliced or shredded, this provides protein and sustenance.
- Red onion: A little sliver adds a tangy crunch that balances the creamy cheese.
- Roasted red peppers: For a sweet, smoky flavor, these make the panini irresistible.
- Mozzarella cheese: The star ingredient that melts to gooey perfection, binding everything together.
Optional ingredients to enhance flavor
- Spinach or arugula: A handful of greens can add freshness and color.
- Chicken ham or Turkey bacon: For an extra protein punch and smokiness.
- Sun-dried tomatoes: A little tangy sweetness that elevates every bite.
- Balsamic glaze: Drizzle for an additional layer of richness and complexity.
Feel free to mix and match these ingredients depending on your mood or what you have on hand! Want to explore more ingredient options? Check out this helpful guide on sandwich fillings. Happy cooking!
Preparing Italian Chicken Panini
Making an Italian Chicken Panini is not only about great tastes; it's also about the joy of putting together a beautiful meal with simplicity. To help you along the way, here’s a step-by-step guide to preparing this delicious sandwich, from gathering your ingredients to serving it up hot and fresh.
Gather your ingredients
Before you jump into the cooking process, ensure you have everything at your fingertips. Here’s what you’ll need for your panini:
- 4 slices of thickly sliced Italian bread
- 2 tablespoons of pesto (homemade or store-bought works)
- 1 cooked chicken breast, sliced in half
- 2 tablespoons of slivered red onion
- ¼ cup of roasted red peppers, thinly sliced
- 4 ounces of low moisture, part skim mozzarella, shredded or sliced
- Cooking spray for your panini press
Having all your ingredients ready not only makes the assembly process smoother but also ensures you won’t have to scramble in the kitchen when you're ready to cook.
Assemble the panini
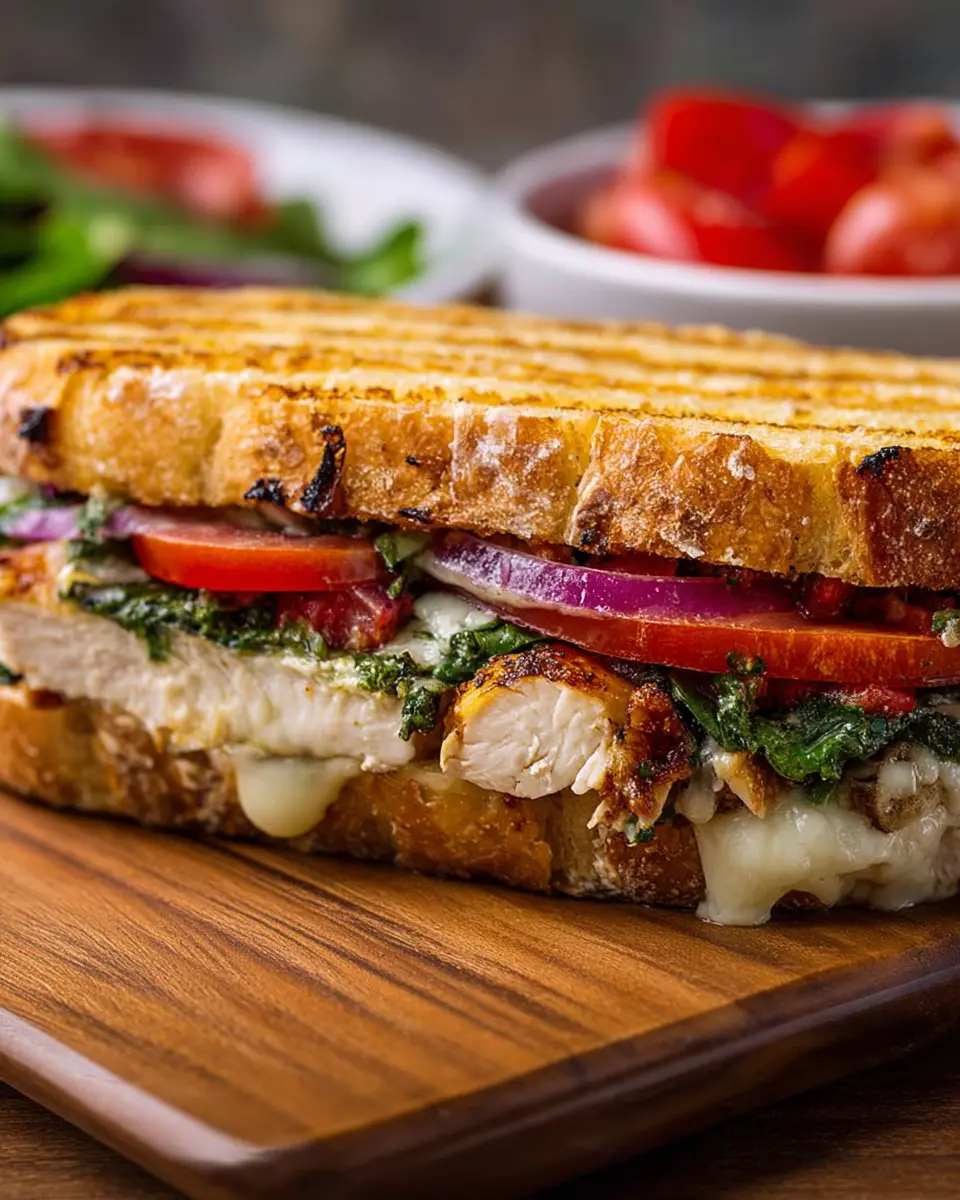
Now comes the fun part! Start by taking two slices of your Italian bread and slathering them with pesto. Don't be shy; the pesto adds a ton of flavor that really brings this panini to life. Then, layer one half of the chicken breast on each slice. Next, distribute the slivered red onion, roasted red peppers, and shredded mozzarella evenly over the chicken. Finally, top each with another slice of bread, creating a delightful sandwich.
Heat your panini press
While you're assembling your panini, go ahead and heat up your panini press. It should be preheated for about 5 minutes, which will help achieve that perfect crispy crust. Before placing your sandwiches in, give the surface a quick spritz of cooking spray to prevent sticking.
Grilling your panini
Carefully place the assembled panini into your hot press. Close the lid and let it grill for about 3-4 minutes. Keep an eye on it—the exact time may vary depending on the thickness of your bread and the efficiency of your press. You’ll want to wait until the sandwich is warmed through and the cheese has melted, making that wonderful gooey texture.
Slicing and serving
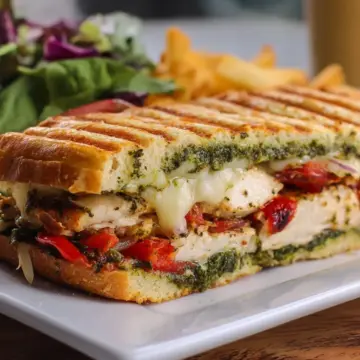
Once your Italian Chicken Panini is beautifully grilled to golden perfection, it’s time for the grand reveal! Use a sharp knife to slice the sandwich in half with a swift motion. Serve it immediately while it's hot, allowing the oozy mozzarella to shine through every cut. Enjoy your panini with a side salad or some crispy chips for a complete meal experience!
By following these steps, you’ll not only prepare a delicious meal but also impress those you're sharing it with. And don’t forget—if you try this recipe, come back and let us know how it turned out in the comments. Enjoy!
Variations on Italian Chicken Panini
Adding Turkey Bacon for a Twist
Elevate your Italian Chicken Panini by adding crispy turkey bacon to the mix! The savory crunch complements the tender chicken and gooey cheese, creating a delightful contrast. Simply layer cooked turkey bacon on top of the chicken before pressing the sandwich. It's a fun twist that satisfies meat lovers while offering a slightly healthier option than traditional bacon.
Veggie-Packed Panini for a Lighter Option
Looking for a lighter spin? Upgrade your Italian Chicken Panini to a veggie-packed delight! Swap the chicken for grilled eggplant or zucchini. Layers of fresh spinach, sliced tomatoes, and artichoke hearts make for a vibrant and filling combination. With the same garlicky pesto spread, this version provides all the satisfaction while keeping it light. Check out these tips for more healthy variations!
Cooking tips and notes for Italian Chicken Panini
Best bread choices for panini
Choosing the right bread can elevate your Italian Chicken Panini to a whole new level. Look for crusty options like ciabatta, focaccia, or even a sturdy sourdough. These varieties hold up well to the fillings and create that lovely crispy exterior you crave.
Tips for ensuring a crispy exterior
To achieve a perfectly crispy crust, preheat your panini press and lightly coat it with cooking spray. Additionally, pressing down firmly while cooking helps create that golden finish. If you want to enhance flavor, try brushing the bread with a little olive oil or melted butter before grilling. Remember, the secret to that delicious crunch is all in the timing—don’t rush it!
Serving suggestions for Italian Chicken Panini
Pairing sides for a complete meal
To complement your Italian Chicken Panini, consider serving it with light and fresh sides. A simple arugula and cherry tomato salad drizzled with balsamic vinaigrette adds a refreshing crunch that balances the richness of the panini. Alternatively, a side of sweet potato fries gives a satisfying contrast—crispy, sweet, and full of flavor! For a lighter option, try steamed broccoli or zucchini tossed in lemon and olive oil.
Creative condiment ideas
While your panini is delicious on its own, adding some creative condiments can elevate the experience. Try a drizzle of garlic aioli for creaminess or a touch of sriracha for a spicy kick. A tangy chimichurri sauce can introduce a fresh herbaceous note, while a zesty Greek yogurt dip offers a cool contrast. Explore your fridge and mix and match until you find your perfect pairing!
Time Breakdown for Italian Chicken Panini
Preparation Time
This Italian Chicken Panini recipe is quick and easy! You’ll spend only about 5 minutes prepping your ingredients, making it perfect for a busy weeknight or a leisurely weekend lunch.
Cooking Time
Once you're ready to cook, it takes about 5 minutes in the panini press to achieve that perfect golden brown crust and melted mozzarella—a delight for your taste buds!
Total Time
In just 10 minutes, from start to finish, you’ll have a delicious Italian Chicken Panini ready to enjoy. How's that for a quick and satisfying meal?
For more tips on enhancing your panini experience, head over to Savory Experiments and check out other delectable recipes!
Nutritional Facts for Italian Chicken Panini
When indulging in an Italian Chicken Panini, you’ll want to know what you’re fueling your body with. Here’s a quick look at its nutritional profile:
Calories
Each panini packs approximately 586 calories, making it a hearty meal option.
Protein
With about 40 grams of protein, this panini offers a significant boost, perfect for those looking to enhance muscle recovery or maintain energy levels throughout the day.
Sodium
Bear in mind that it contains around 1254 mg of sodium, a consideration if you're watching your salt intake. Balance it with plenty of fresh veggies or a light salad on the side for a wholesome meal!
For more insights on maintaining a healthy diet, check out reputable sources like the American Heart Association or Nutrition.gov.
FAQs about Italian Chicken Panini
Can I use leftover chicken for this recipe?
Absolutely! Leftover chicken works wonderfully in your Italian Chicken Panini. Whether it's rotisserie chicken or grilled chicken, simply shred or slice it up and incorporate it into the panini. It not only saves time but also adds extra flavor and moistness to your sandwich.
What can I substitute for mozzarella cheese?
If mozzarella isn’t your thing, don’t worry! Plenty of alternatives can elevate your Italian Chicken Panini. Try using provolone, fontina, or even a basil-infused goat cheese for a unique twist. Each option will bring its own delicious flavor profile to the dish.
How do I store leftover panini?
To keep your leftover Italian Chicken Panini tasty, wrap it tightly in aluminum foil or parchment paper to maintain its crispness. Store it in the fridge for up to 3 days. When you’re ready to enjoy it again, reheat it in a panini press or skillet for that delightful crunch! For more tips on storing sandwiches, check out [these guidelines](https://www.foodsafety.gov/keep food safe).
Conclusion on Italian Chicken Panini
Making your own Italian Chicken Panini allows you to customize flavors, use fresh ingredients, and enjoy a satisfying meal in just 10 minutes. Don’t miss out on the pleasure of crafting this delicious sandwich at home—your taste buds will thank you! Give it a try today!
Why You Should Try Making Your Own Panini
Creating your own Italian Chicken Panini is not just about the taste; it’s about the experience. Here are a few reasons to give it a go:
-
Fresh Ingredients: You control what goes in—choose quality ingredients like fresh mozzarella, vibrant roasted red peppers, and garlicky pesto.
-
Customization: Tailor the sandwich to your preferences! Want more veggies? Go for it! Prefer a different type of cheese? The choice is yours.
-
Quick and Easy: This recipe comes together in a flash. Perfect for busy weeknights or a quick lunch!
-
Impressive Presentation: Homemade panini look and taste gourmet, making them great for impressing friends or family.
Feeling adventurous? Check out more recipe ideas and tips on how to enhance your panini game! Consider visiting Serious Eats for additional inspiration or techniques. Enjoy your culinary journey!
Italian Chicken Panini
Equipment
- Panini Press
Ingredients
- 4 slices Italian bread thickly sliced
- 2 tablespoons pesto
- 1 piece chicken breast cooked and sliced in half lengthwise
- 2 tablespoons red onion slivered
- ¼ cup roasted red peppers thinly sliced
- 4 ounces low moisture, part skim mozzarella shredded or thinly sliced
- 1 spray Cooking Spray
Instructions
- Slather two slices of Italian bread evenly with pesto.
- Top each with one half of the chicken breast and then evenly divide the slivered red onion, roasted red peppers, and mozzarella.
- Heat the panini press and coat with cooking spray.
- Place the sandwiches inside to press and grill for 3-4 minutes on each side.
- When sandwiches are heated through and cheese is melted, remove and chop in half. Serve while hot.


Leave a Reply