
Introduction to Watermelon Mochi
What is Watermelon Mochi?
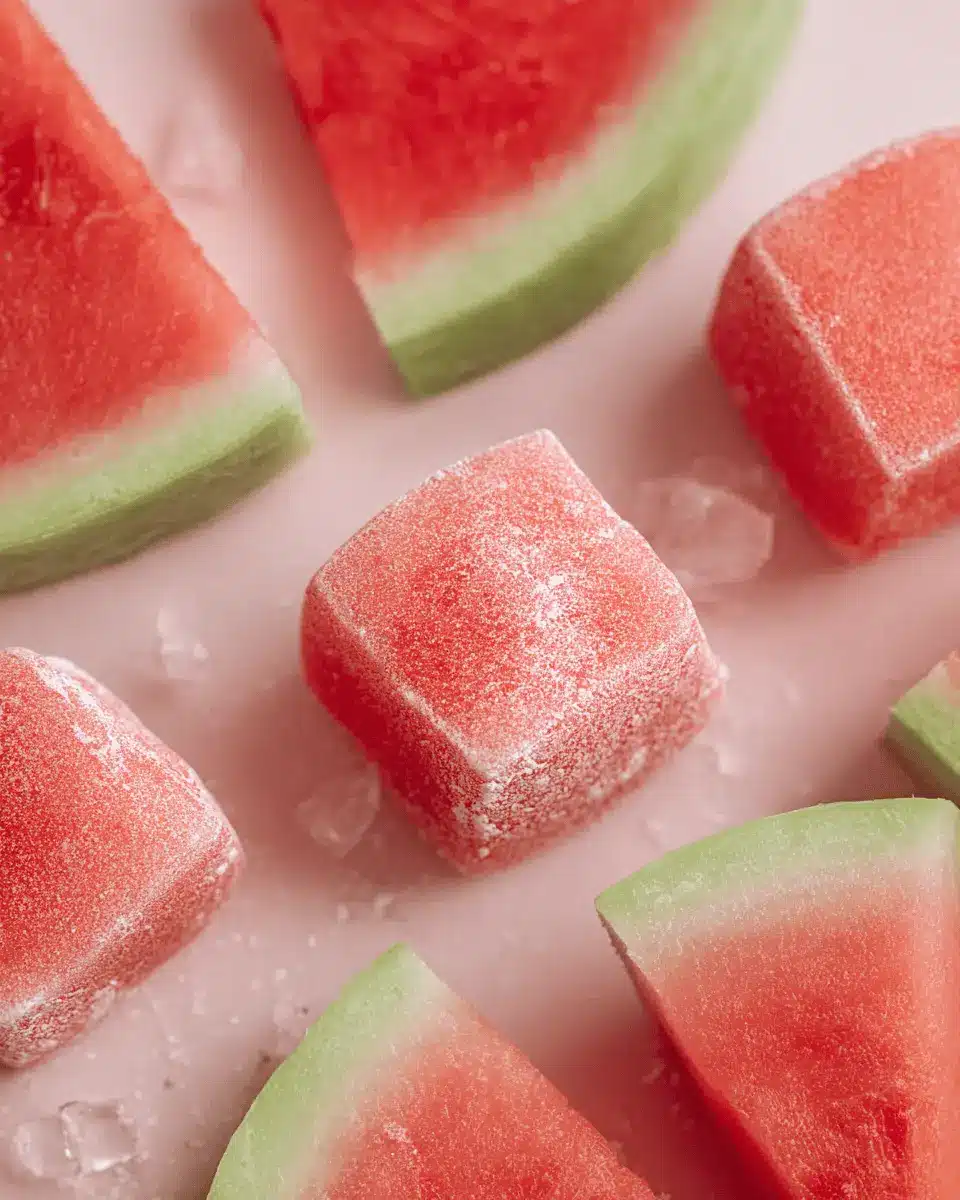
Watermelon mochi is a delightful fusion of traditional Japanese mochi and the refreshing taste of watermelon. Mochi itself is a chewy rice cake made from glutinous rice, often enjoyed as a sweet treat or dessert in various Asian cuisines. In this version, we infuse the mochi with fresh watermelon juice, giving it a vibrant color and a naturally sweet flavor. It’s the perfect snack for warm days or a fun party treat, guaranteed to impress your friends and family.
Making watermelon mochi at home is easier than you might think! With just a few simple ingredients, you can create these delightful bites. The sweet, fruity essence of watermelon makes every bite a burst of summer, making it a wonderful addition to any dessert table. You can find the recipe below to whip up this fun, chewy treat.
Why Choose Mochi?
Mochi isn’t just delicious; it also has some unique advantages:
- Versatile Flavor Base: You can infuse mochi with various flavors, making it adaptable for any occasion.
- Gluten-Free: Made from glutinous rice flour, it’s a fantastic option for those avoiding gluten.
- Chewy Texture: The satisfying chewiness adds a delightful experience to every bite.
So, when considering what to serve next, why not embrace the joy of watermelon mochi? This treat not only tastes great but also packs a visual punch with its vibrant colors. For more inspiration, check out this resource on mochi's cultural significance in Japanese cuisine.
Ingredients for Watermelon Mochi
Creating the perfect watermelon mochi involves selecting the right ingredients to achieve that deliciously chewy texture. Here’s what you’ll need for this refreshing treat:
Essential Ingredients
- Glutinous Rice Flour (200g / 1 ½ cups): This is the star ingredient that gives mochi its signature chewiness.
- Granulated Sugar (65g / ⅓ cup): For that sweet touch, balancing the watermelon’s natural flavor.
- Cornstarch (40g / ⅓ cup): This helps to dust the mochi and prevent it from sticking together.
- Watermelon Juice (240ml / 1 cup, strained): Freshly made from ripe watermelon, this imparts a vibrant flavor and color.
- Vegetable Oil (1 ½ tbsp): Aids in cooking and enhances the texture of the mochi.
Optional Add-ins
Feeling creative? You can elevate your watermelon mochi experience by adding:
- Matcha Powder: A sprinkle can lend a nice contrast in flavor and color.
- Shredded Coconut: For a tropical twist, mix it into the mochi or top it as a garnish.
- Chocolate Chips: Because who doesn’t love chocolate?
For more detailed recipes, check out resources like Serious Eats or Japan Centre. These can inspire even more delicious ideas!
Step-by-step Preparation of Watermelon Mochi
Making watermelon mochi is a delightful process that not only fills your home with a sweet, fruity aroma but also results in a delectable treat that's perfect for any occasion. Here’s how to prepare this refreshing dessert step-by-step.
Make the Watermelon Juice
To kick off your watermelon mochi, you’ll need fresh watermelon juice. Simply take some ripe watermelon and chop it into chunks. Place the chunks into a blender, and blend until smooth. After blending, strain the mixture through a fine mesh sieve to eliminate any pulp—this ensures a smooth consistency in your mochi. You’ll want about 240ml (1 cup) of this vibrant juice. If you’re curious about other ways to use watermelon, check out this resource on benefits and recipes.
Combine Dry Ingredients
In a mixing bowl, combine the glutinous rice flour, granulated sugar, and cornstarch. These dry ingredients are the foundation of your mochi, giving it that signature chewy texture. Stir them together thoroughly, ensuring they’re evenly blended. A consistent mix here will help with even cooking later.
Mix in Wet Ingredients
After combining the dry ingredients, it’s time to add the star of our dish! Pour in the strained watermelon juice, along with 1 ½ tablespoons of vegetable oil to enhance the smooth texture. Whisk everything together until the mixture is well combined and resembles a smooth batter. Little lumps can lead to uneven cooking, so do take this step seriously!
Cook the Mochi Mixture
Now, it’s time to bring heat into the equation. Heat a deep frypan or saucepan over medium heat and pour in your mochi mixture. Stir it consistently for about 5-8 minutes. As you stir, you’ll notice the mixture thickening and changing into a gorgeous dark pink, translucent color. This means you're on the right track, and it should feel quite sticky to the touch.
Mold and Chill the Mochi
When your mochi mixture is ready, remove it from heat. Prepare a 12cm x 12cm (or any small rectangular) mold by lining it with parchment paper. This step prevents sticking and ensures easy removal later. Pour the warm mochi into the lined mold, flatten it out with a spatula, and place it in the fridge to cool for 1-2 hours until it's slightly firm.
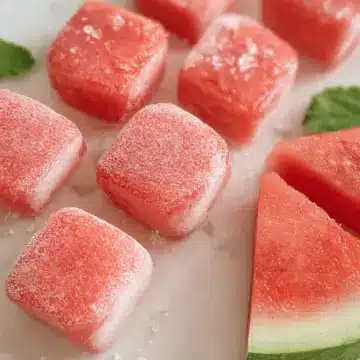
Cut and Dust the Mochi
After chilling, dust your work surface with cornstarch to prevent sticking. Carefully remove the mochi from the mold and place it on the dusted surface. Take a sharp, oiled knife to cut it into 12 squares. As you separate the pieces, dust each one with additional cornstarch to keep them from sticking together. Your beautiful watermelon mochi is now ready to be enjoyed!
This simple and rewarding process is sure to impress at your next gathering or serve as a delightful treat for yourself. Happy cooking!

Variations on Watermelon Mochi
Tropical Fruit Mochi
Looking to spice things up? Why not add your favorite tropical fruits to your watermelon mochi? You can blend mango, pineapple, or even coconut into your watermelon juice for a delightful twist. This will create a vibrant, refreshing palette of flavors that captures the essence of summer in every bite. Feel free to experiment and find your perfect combination — the options are endless!
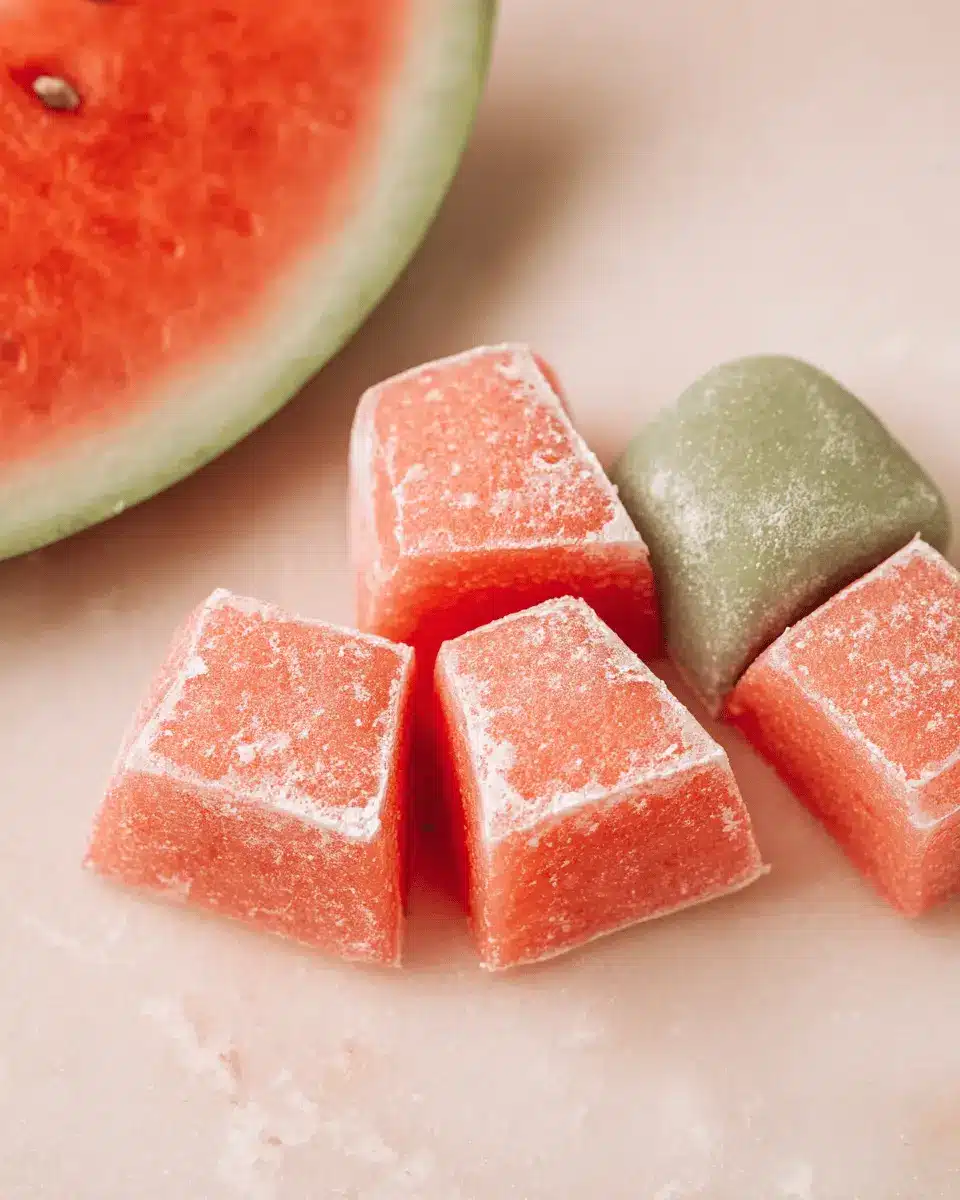
Matcha Watermelon Mochi
For matcha lovers, consider pairing watermelon mochi with the unique flavor of matcha. Simply whisk in a teaspoon of high-quality matcha powder into your mochi mixture for that beautiful green color and earthy taste. This subtle balance of sweet and bitter will elevate your dessert and impress your friends. Plus, matcha is known for its antioxidant properties, so you’re indulging healthily as well!
For more tips on enhancing your mochi, check out this guide to making mochi variations. Happy cooking!
Cooking Tips and Notes for Watermelon Mochi
Achieving the Perfect Texture
To ensure your watermelon mochi has that ideal soft and chewy texture, it’s crucial to cook the mochi mixture until it becomes a thick, sticky consistency. Stir continuously to break down any lumps and promote even cooking. If it seems too thick right away, don’t worry! Patience is key here; just keep stirring until it transforms into a smooth, glossy dough.
Storing Mochi
Once your delicious watermelon mochi is cut into squares, store it in an airtight container with cornstarch in between the layers to prevent sticking. Keeping it in the fridge will help maintain its freshness for several days. If you’re saving it for later, consider wrapping individual pieces in plastic wrap before placing them in the container—this way, you can enjoy them anytime you crave a refreshing treat! For more storage tips, check out The Kitchn.
Serving Suggestions for Watermelon Mochi
Pairing with Fresh Fruits
Transform your watermelon mochi into a vibrant dessert platter by serving it alongside a medley of fresh fruits. Think slices of juicy strawberries, bright blueberries, and tangy kiwis. The combination not only adds color but also enhances the refreshing flavor profile of the mochi. Feel free to experiment with seasonal fruits for a unique twist!
Serving with Sweet Sauces
Elevate your watermelon mochi experience by drizzling it with delicious sweet sauces. A light honey drizzle or a splash of coconut cream can add depth and richness. You might even consider pairing it with a berry compote to introduce contrasting flavors. For an engaging dessert, set out a few sauces and lets guests create their own perfect bites!
For inspiration on fruity pairings, check out this guide on fruit combinations to really make your dessert stand out!
Time Breakdown for Watermelon Mochi
Preparation Time
Get ready for a sweet adventure with just 5 minutes of prep! Gather your ingredients and blend that fresh watermelon—it's as quick as a summer breeze.
Cooking Time
You’ll need about 15 minutes to cook your mochi mixture to perfection. Just keep stirring until it transforms into that lovely, sticky texture.
Total Time
In only 20 minutes, you’ll have a delightful base ready for your watermelon mochi. Allow an extra hour or so to chill, and you’re set for a refreshing treat!
For more details on how to make this delicious dessert, check out the full recipe here.
Nutritional Facts for Watermelon Mochi
Calories
Indulging in your homemade watermelon mochi is easier to enjoy when you know it’s only about 70 calories per piece. This delightful snack is light enough to satisfy your sweet tooth without overloading on calories.
Sugar Content
Each square contains approximately 9 grams of sugar, primarily from the natural sweetness of fresh watermelon. It’s a fun way to enjoy something sweet while keeping it on the healthier side.
Dietary Fiber
While watermelon mochi isn't a fiber powerhouse, it does offer about 0.5 grams per piece, thanks to the watermelon juice. Pair it with a fiber-rich snack for a balanced treat!
For more on the health benefits of watermelon, check out this link exploring its nutrient profile Healthline.
FAQs about Watermelon Mochi
Can I use other fruits for mochi?
Absolutely! While this recipe focuses on watermelon mochi, you can experiment with many fruits. Think fresh strawberries, mango, or even matcha for a unique twist. Just make sure to adjust the juice quantity accordingly for optimal flavor and texture. You might find some inspiration in these 8 fruity mochi recipes.
What is the best way to enjoy watermelon mochi?
The best way to enjoy watermelon mochi is chilled and fresh! It’s delicious as a summertime snack or dessert. Pair it with a refreshing beverage, like iced green tea or lemonade. For an extra touch, consider serving it with a scoop of vanilla ice cream for a delightful contrast in flavors.
How long does watermelon mochi last?
When stored properly in an airtight container in the refrigerator, watermelon mochi can last for about 3 to 5 days. For longer storage, you can freeze the mochi for up to a month. Just remember to dust it with cornstarch beforehand to prevent sticking! Enjoy your chewy treat while it's fresh!
Conclusion on Watermelon Mochi
In just 20 minutes, you can create delightful watermelon mochi that dazzles both the eyes and palate. This refreshing treat is perfect for summer gatherings or simply as a sweet snack at home. Give the recipe a try, and enjoy this unique twist on a classic dessert! For more creative dessert ideas, check out Catherine Zhang's blog.
Watermelon Mochi
Equipment
- blender
- Deep frypan or saucepan
- 12cm x 12cm mold
- spatula
- Oiled knife
Ingredients
Mochi Ingredients
- 200 g Glutinous rice flour
- 65 g Granulated sugar
- 40 g Corn starch
- 240 ml Watermelon juice, strained
- 1.5 tablespoon Vegetable oil
Instructions
Mochi Preparation Steps
- To make the watermelon juice place watermelon flesh in a blender and blitz until smooth, then pass through a fine mesh sieve to remove any pulp.
- Combine the glutinous rice flour, sugar, and cornstarch in a bowl.
- Add the watermelon juice and oil, and whisk until smooth.
- Heat a deep frypan or saucepan over medium heat and add the mochi mixture.
- Heat, stirring consistently, for 5-8 minutes, or until the mochi mixture thickens and changes into a dark pink translucent color (the mixture should be very sticky).
- Remove from the heat.
- Prepare a 12cm x 12cm square mold and line it with parchment paper, if you don’t have that size any small rectangular container should work.
- Pour the warm mochi into the lined mold and press it down the with spatula to flatten it.
- Place the mochi in the fridge to cool for 1-2 hours, or until slightly firmed up.
- Dust your work surface with cornstarch.
- Remove the mochi from the mold and place it on the dusted surface.
- Dust the top of the mochi with more cornflour and cut it into 12 pieces of mochi with an oiled knife.
- Separate the pieces and dust all sides of the mochi with cornflour.
- Enjoy!


Leave a Reply